

Industry News
Are Jewelry Sanding Papers Effective for Curved Surfaces?
Creating a flawless finish on jewelry showcases exceptional craftsmanship. While flat surfaces are relatively straightforward, the curves, contours, and organic shapes in many designs pose unique challenges. You might ask: can standard jewelry sanding papers handle these intricate, non-flat surfaces? Absolutely, as long as you understand their strengths, choose the right tools, and apply proper techniques.
Ready to perfect your curved jewelry finishes? Explore our high-quality sanding papers and polishing supplies at Orobrush, designed to help you tackle every curve with confidence. What curved surface are you working on today?

Why Curved Jewelry Surfaces Are Challenging
Sanding curves isn’t just about removing material—it’s about preserving the design’s shape while achieving a smooth, uniform finish. Curved surfaces present several hurdles:Uneven Pressure Risks
On flat surfaces, applying consistent pressure is simple. Curves, however, make it easy to press harder on high points or edges, causing uneven material removal, flat spots, or distorted contours. This can compromise the piece’s intended design.Scratches and Flat Spots
Poor technique can leave scratches that disrupt the curve’s natural flow or flatten rounded surfaces, ruining the piece’s aesthetic. These mistakes often require time-consuming rework to restore the original shape.How Sanding Papers Excel on Curves
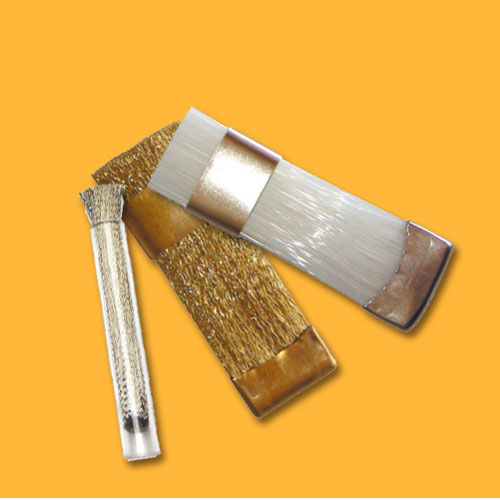
Despite these challenges, jewelry sanding papers are remarkably effective for curved surfaces due to their design, variety, and adaptability.Built-In Flexibility
Sanding paper’s pliability is its greatest asset. Unlike rigid files or power tools, it can bend, fold, or wrap around a piece’s contours, maintaining consistent contact with the surface. This ensures even material removal and a smoother finish, preserving the design’s integrity.Grit Progression for Polished Results
Sanding curves requires a range of grits, each serving a specific purpose:- Coarse Grits (220–400): Ideal for initial shaping, these quickly remove deep scratches from filing or casting while defining the curve. Use them carefully to avoid over-sanding.
- Medium Grits (600–1000): These refine the surface, smoothing out marks left by coarser grits and preparing the metal for polishing.
- Fine Grits (1200–8000+): Essential for pre-polish or high-luster finishes, they minimize microscopic scratches, enhancing the metal’s natural shine before final buffing.
Backing Materials Enhance Control
The right backing material amplifies sanding paper’s effectiveness on curves:- Foam or Rubber Pads: These pliable supports, often found in sanding sticks, conform to gentle curves, distributing pressure evenly to prevent flat spots.
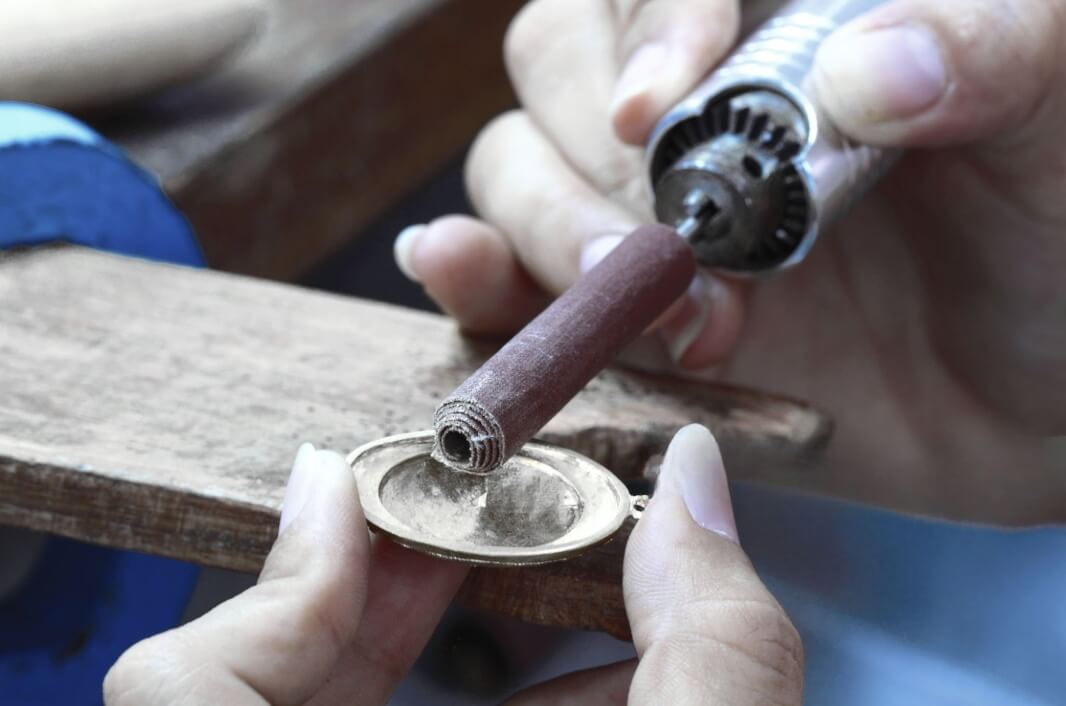
- Finger-Sanding: For tight or delicate curves, using your finger as backing offers precise control, allowing the paper to follow even the smallest radii.
- Mandrels and Dowels: Wrapping sandpaper around dowels, rubber mandrels, or Q-tips accesses tight grooves or internal curves.
Tools and Accessories for Curved Sanding
Mastering curved surfaces requires more than just sandpaper—it’s about the right combination of tools and techniques.Types of Sanding Paper
- Silicon Carbide (Wet/Dry): Sharp and durable, it’s perfect for initial shaping and material removal. Wet sanding with silicon carbide prevents clogging and delivers a cleaner cut, especially on curves.
- Aluminum Oxide: Versatile and durable, this abrasive works well for general sanding and surface refinement, available on paper or cloth backings.
- Cushioned Abrasives (e.g., Micro-Mesh): With abrasive particles in flexible cloth or foam, these excel at high-polish finishes on curves, conforming perfectly and minimizing deeper scratches.
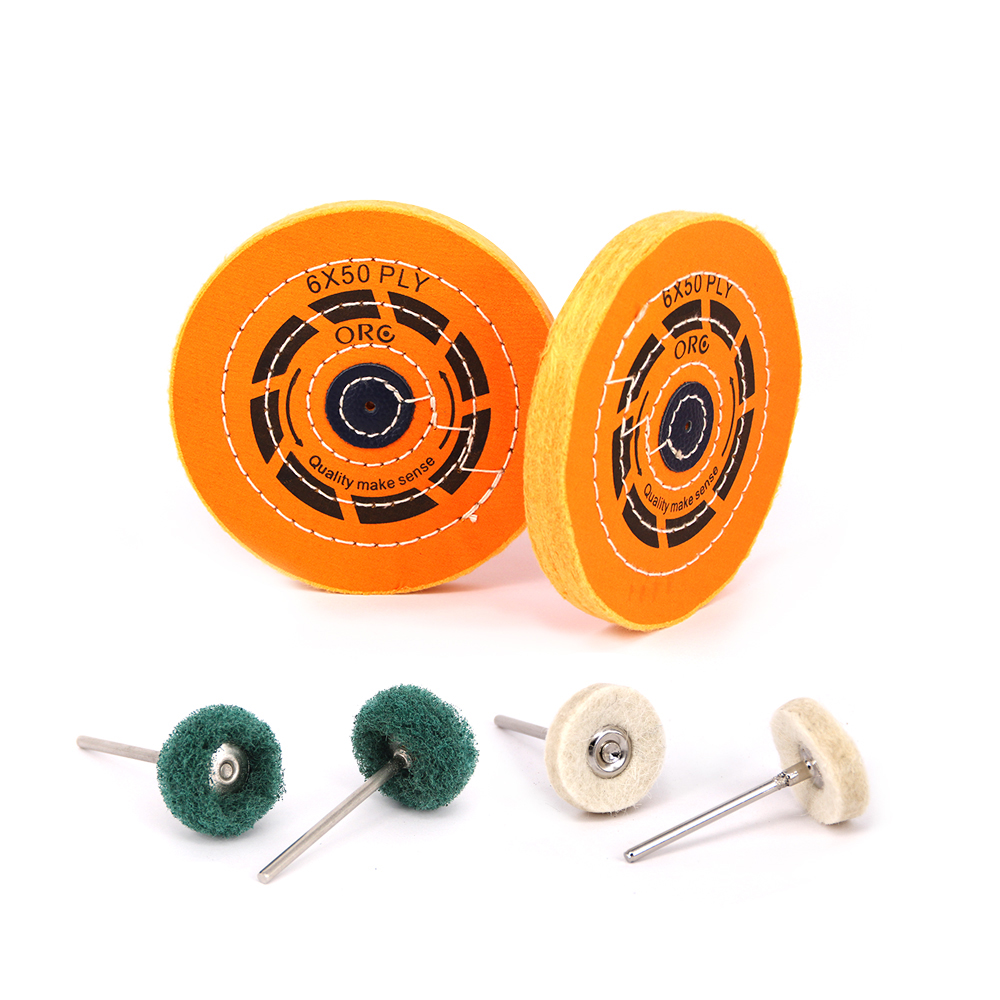
Supporting Tools
- Flexible Sanding Sticks/Blocks: Available in various shapes and densities, these adapt to different curves.
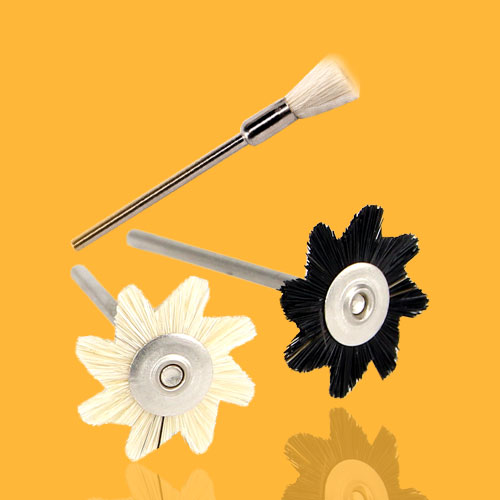
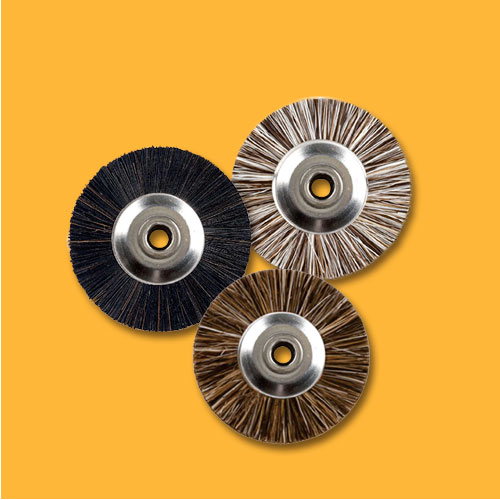
- Rubberized Abrasive Wheels/Points: Used with rotary tools, these complement sandpaper in tight curves where paper alone struggles.
- Finger Cots/Gloves: These protect your fingers during finger-sanding and improve grip on the paper.
Techniques for Flawless Curved Sanding
Achieving professional results on curves demands patience, precision, and the right approach.Embrace Wet Sanding
Wet sanding is a game-changer for most metals and jewelry materials, offering multiple benefits:- Less Clogging: Water lubricates the surface, preventing metal dust from clogging the paper and extending its life.
- Smoother Finish: Lubrication reduces scratch depth, creating finer, more consistent patterns.
- Cleaner Workspace: It minimizes airborne dust, promoting a safer, healthier environment.
Apply Light, Even Pressure
The key to sanding curves is gentle, consistent pressure. Let the abrasive do the work—pressing too hard risks deep scratches, flat spots, or altered shapes. Guide the paper along the curve’s natural flow, feeling the contour with your hand.Vary Sanding Directions
To achieve a uniform finish, sand in multiple directions—parallel, perpendicular, and diagonal to the curve’s flow. This cross-hatching technique reveals lingering scratches from coarser grits and ensures an even surface. Always follow the curve’s natural path.Limitations to Consider
While sanding papers are versatile, they have limits, and complementary tools may be needed in certain cases.Deep or Intricate Contours
For tight internal corners, complex filigree, or deep undercuts, sandpaper may struggle to reach or apply even pressure. In these cases, small rotary tools with abrasive bits, abrasive cords, or hand files can rough out the area before finishing with fine sandpaper.Avoiding “Flats”
Careless sanding can flatten curves, especially with excessive pressure or rigid backings on tight radii. Stay vigilant, use a light touch, and inspect your work under good lighting from multiple angles to catch issues early.Don’t Skip Grits
Each grit removes scratches from the previous one. Skipping steps forces finer papers to do heavy lifting, leading to uneven finishes and wasted time.Preparation and Maintenance Tips
Effective sanding starts with proper preparation and care for your tools.Surface Prep
File and shape the piece before sanding to remove large marks. A smoother starting surface simplifies sanding and saves paper, especially on curves.Sandpaper Maintenance
Rinse sandpaper under clean water during wet sanding to clear metal particles, keeping the abrasive sharp. Store papers flat and dry to prevent curling or damage.Conclusion
Jewelry sanding papers are indispensable for tackling curved surfaces, offering flexibility, a range of grits, and compatibility with clever backing materials. With techniques like wet sanding, light pressure, and cross-hatching, you can achieve seamless, professional finishes on even the most intricate contours. Mastering curved sanding takes practice, but with the right tools and patience, your jewelry will shine.Ready to perfect your curved jewelry finishes? Explore our high-quality sanding papers and polishing supplies at Orobrush, designed to help you tackle every curve with confidence. What curved surface are you working on today?