

Industry News
Best Tools and Tips for Polishing Acrylic Dentures
A high-grade finish on PMMA acrylic dentures is essential for patient comfort, natural aesthetics, and preventing bacterial plaque buildup. However, because acrylic resin is heat-sensitive, improper polishing can easily cause surface melting, yellowing, or ruined tissue fit. This guide delivers a concise, standardized workflow—covering essential tools, speed parameters, and expert tips—to help you safely achieve a flawless mirror shine every time.

If you are looking to bulk-purchase high-quality rubber polishers, cloth buffs, wool cones, and fine cotton buffs—or require a custom wholesale supply solution—please contact the technical expert team at Orobrush for samples and quotes.
I. Selection of Core Polishing Tools and Consumables
Executing an efficient workflow requires selecting the right instrument for each specific mechanical phase. Using unsuitable abrasives or worn wheels increases laboratory working time and risks damaging the prosthesis.1.Trimming and Coarse Milling Tools
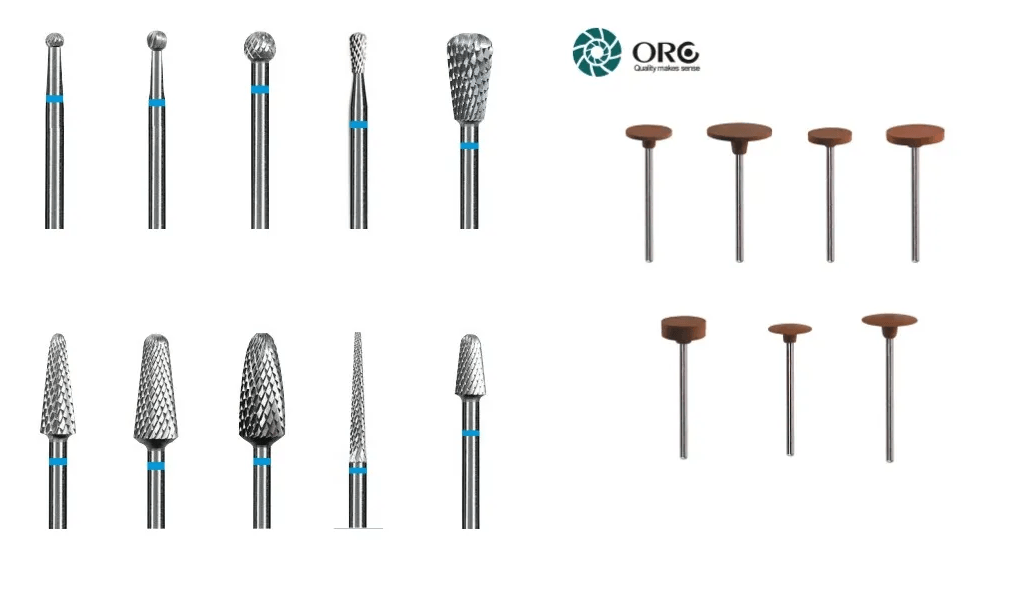
- Cross-Cut Carbide Burs: High-grade tungsten carbide burs with cross-cut geometries are essential for initial shaping. They trim excess acrylic flash, smooth sharp borders, and remove bulk sprues without clogging or chatter.
- Coarse and Medium Silicone Rubber Polishers: Synthetic rubber points and wheels embedded with silicon carbide or aluminum oxide grains eliminate deep bur scratches and level the anatomical contours of the labial, buccal, and palatal surfaces.
2. Pre-Polishing (Wet Polishing) Consumables
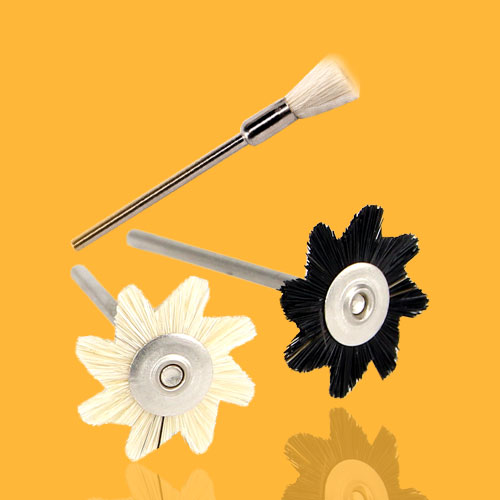
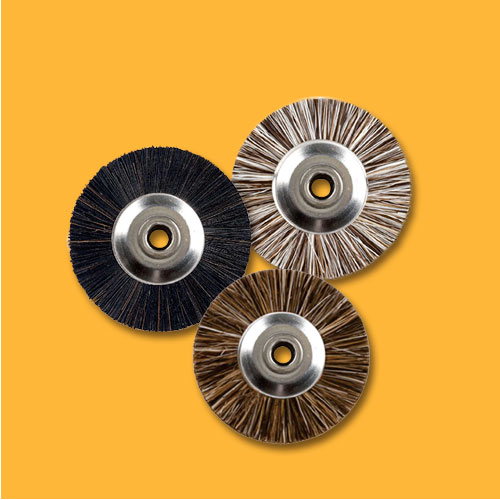
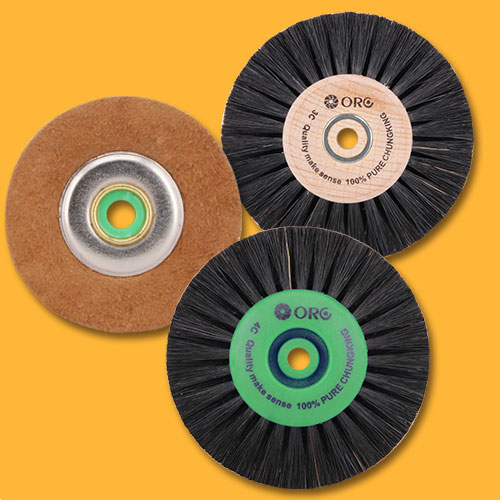
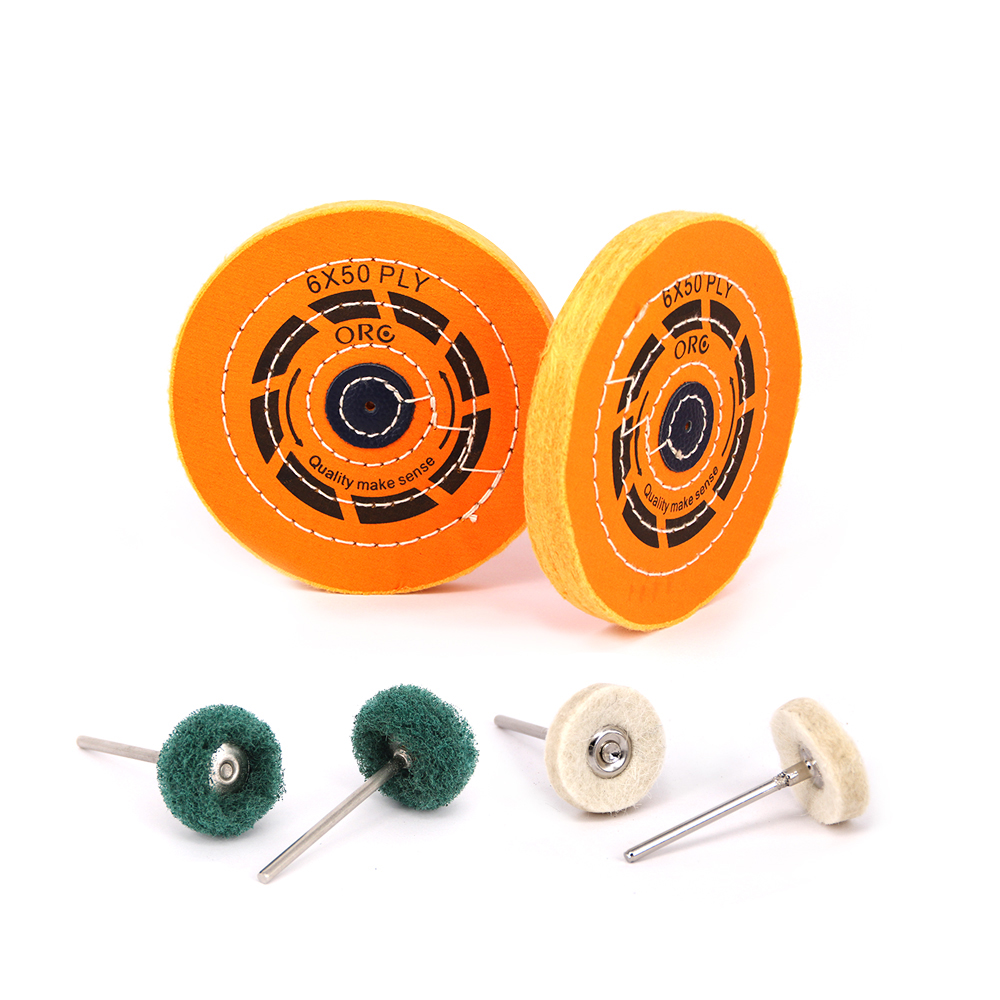
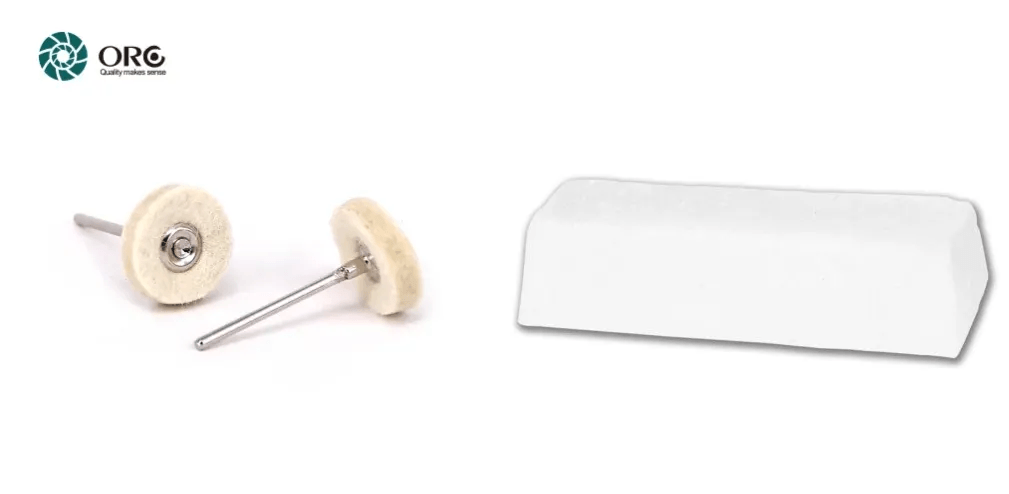
- Buffing Wheels and Felt Cones: Unbleached muslin wheels, chamois disks, and dense felt cones feature high liquid absorption. They hold slurries effectively and adapt to interdental recesses.
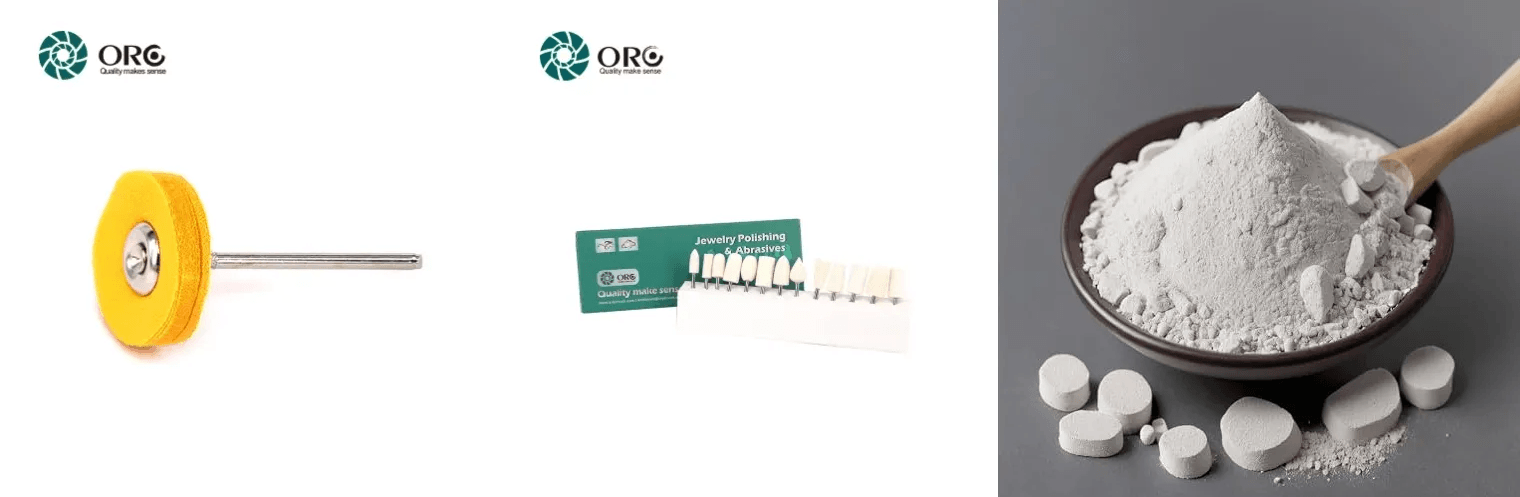
- Medical-Grade Pumice: Fine-grained pumice slurry acts as an intermediate abrasive. Mixed with water, it dissipates frictional heat while removing micro-scratches left by rubber points.
2.Final High-Gloss and Mirror Finish Consumables
- Soft Cotton Buffs: Flannel or loose-fold soft cotton wheels provide ultra-gentle contact across broad polished surfaces without generating excessive drag.
- High-Gloss Resin Polishing Compounds: Specialized pastes containing sub-micron aluminum oxide or diamond dust yield a crystal-clear, brilliant shine on PMMA surfaces in seconds.
II. Standardized Four-Step Polishing Process and Parameter Guide
Following a structured sequence prevents technician errors and ensures repeatable results. The table below details the operational stages, recommended instruments, handpiece speeds, and handling protocols.| Step | Operation Phase | Recommended Tools / Consumables | Speed (RPM) | Key Operational Points |
| Step 1 | Edge Trimming & Contouring | Cross-cut tungsten carbide bur | 15,000 – 20,000 | Apply light, unidirectional pressure. Keep the bur moving continuously to avoid gouging or burning the acrylic. |
| Step 2 | Surface Leveling | Silicone rubber polishing wheel (coarse/medium grit) | 10,000 – 12,000 | Follow natural anatomical contours. Systematically eliminate tool marks left by carbide burs. |
| Step 3 | Wet Pre-Polishing | Wool wheel / muslin cloth wheel + wet pumice slurry | 5,000 – 8,000 | Keep the slurry moist throughout the process. Use lower speeds and broader surface contact to prevent heat buildup. |
| Step 4 | Final Mirror-Finish Polishing | Soft cotton cloth wheel + high-gloss resin polishing paste | 3,000 – 5,000 | Apply minimal pressure with rapid, sweeping movements to pull out a deep, high-gloss shine. |
III. Key Practical Techniques for Acrylic Resin Polishing
1. Strictly Control Heat and Pressure
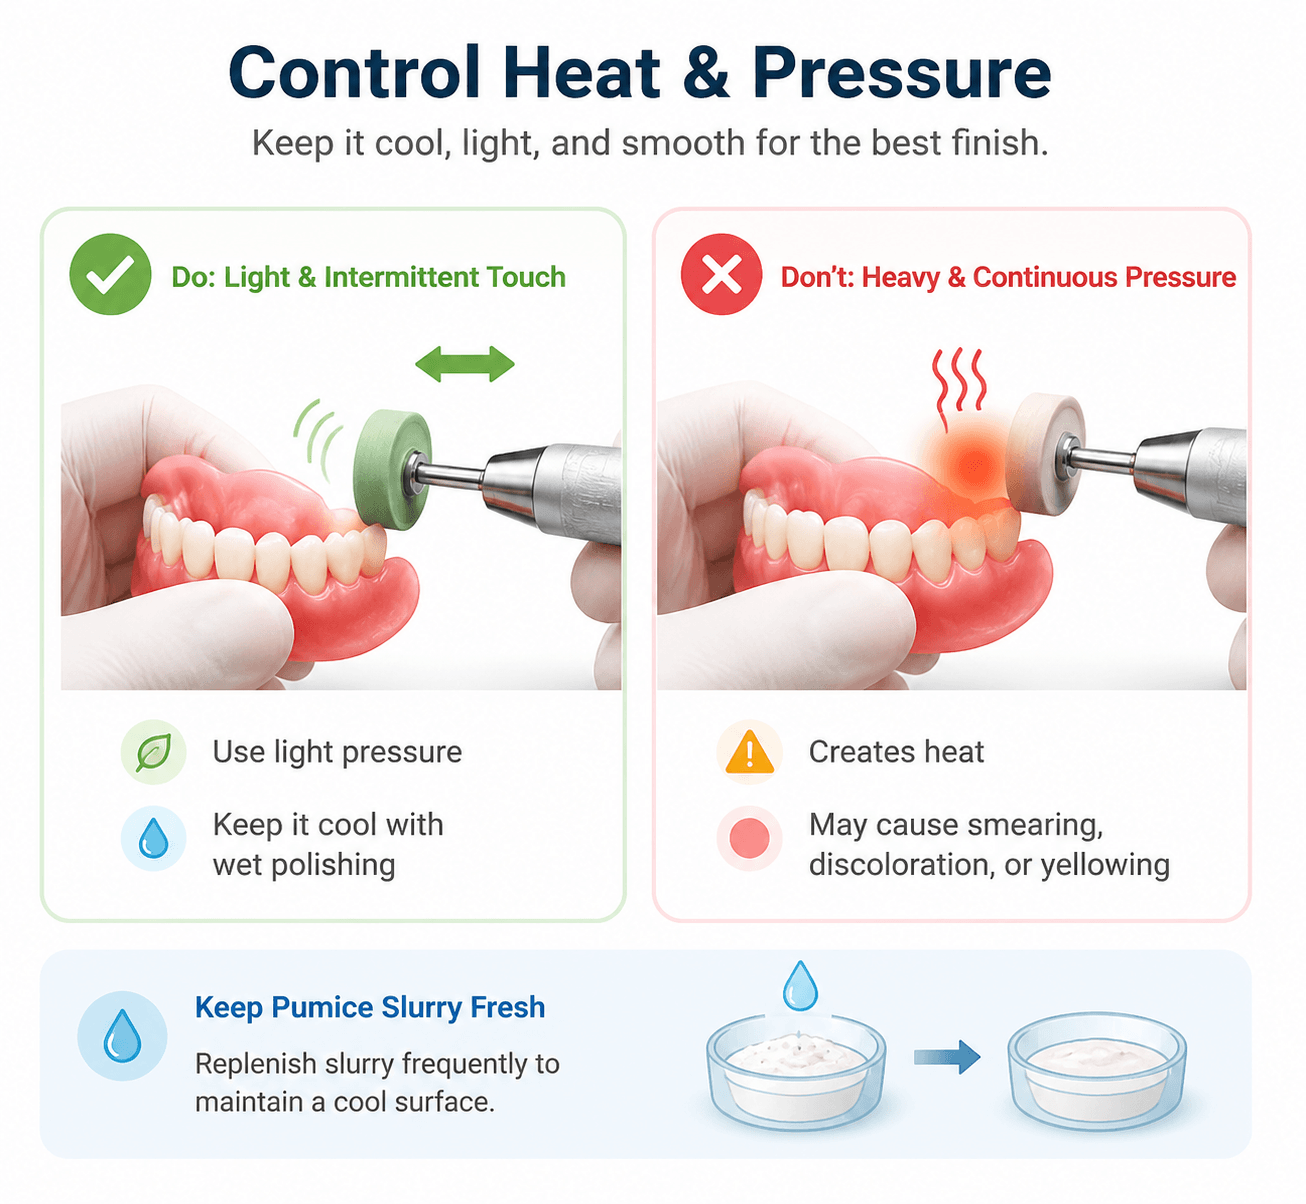
PMMA resin softens at elevated temperatures. Always use a light, intermittent, or "pulsed" touch with the handpiece. Sustained heavy pressure increases friction faster than it removes material, causing the resin to smear, discolor, or turn yellow. When wet polishing, replenish the pumice slurry frequently to keep the acrylic cool.
2. Protect the Tissue Surface and Anatomical Structures
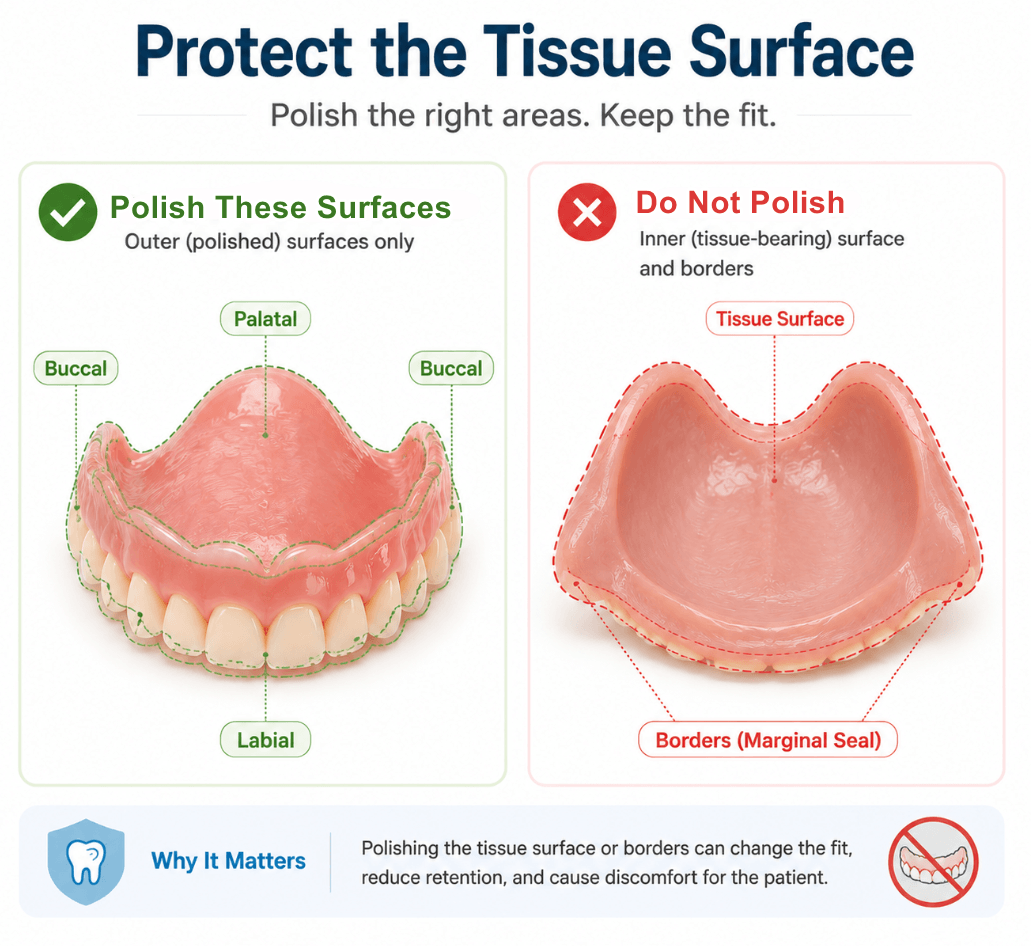
Limit polishing strictly to the polished surfaces (labial, buccal, lingual, and palatal areas). Never polish the intaglio (tissue-bearing) surface or the delicate borders of the marginal seal with abrasive wheels or burs. Doing so alters the retention profile and ruins the physical fit against the patient's ridge.
3. Establish Cross-Contamination Prevention Measures
Cross-contamination of grit sizes is a primary cause of surface scratches during final buffing. Keep wheels dedicated to specific stages; never use a high-gloss cotton wheel with coarse pumice. Wash the denture thoroughly in an ultrasonic bath or under running water between steps to remove residual abrasives.
4. Chairside Posture and Safety Techniques
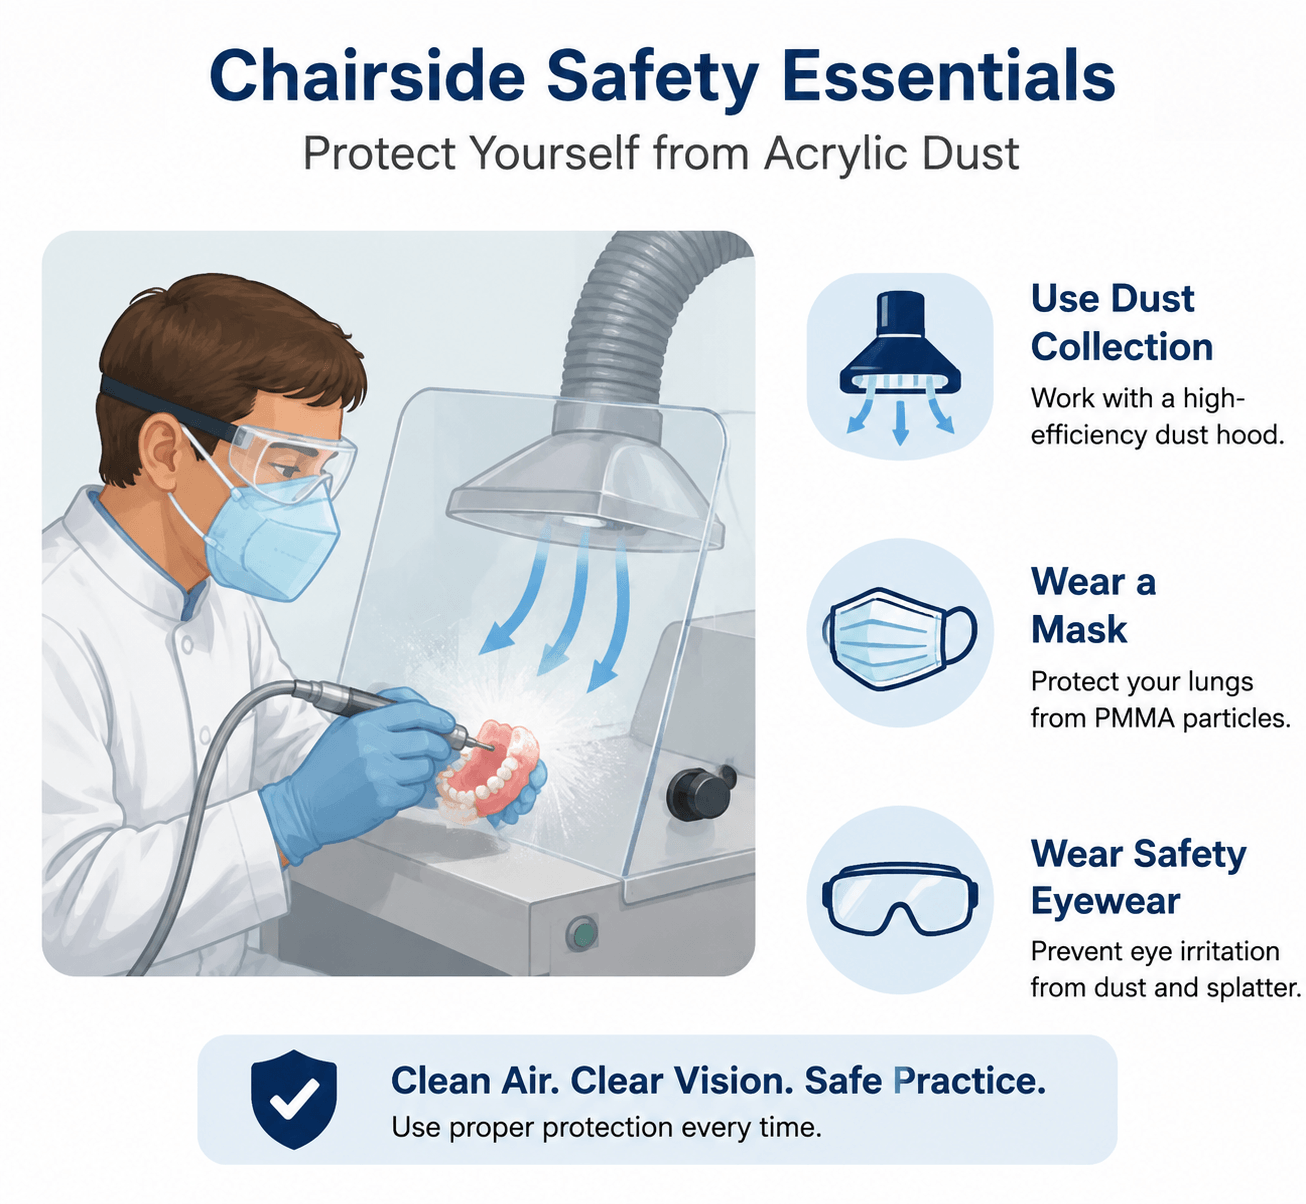
Generating acrylic dust poses respiratory and ocular hazards. When using a dental micromotor at the lathe or chairside, work behind a transparent shield connected to a high-efficiency dust collection hood. Wearing a particulate mask and safety eyewear is mandatory to prevent inhalation of PMMA particles and pumice splatters.IV. Common Polishing Defects and Troubleshooting Guide
Defect 1: White spots or yellowing appear on the surface after polishing
- Cause: High handpiece RPMs or excessive contact pressure caused localized overheating, melting the acrylic matrix or degrading the monomer binder.
- Solution: Reduce handpiece rotation speed, apply a lighter touch, and keep the denture wet during pre-polishing. Intermittent contact allows heat to dissipate quickly.
Defect 2: Fine, latent scratches remain after the final buffing stage
- Cause: Skipping the rubber-point leveling or wet-pumice stages and moving straight from a carbide bur to a soft cloth buff.
- Solution: Follow the sequential grit hierarchy without skipping steps. Every stage must completely remove the scratches left by the preceding tool before advancing.
Defect 3: Denture margins are too thin or the fit is loose
- Cause: Over-polishing or aggressive wheel contact along the peripheral borders and tissue-bearing areas.
- Solution: Mark sensitive border zones and anatomical landmarks with a protective medium or pencil before polishing, and keep buffing wheels angled away from these edges.
Defect 4: Orange-peel texture or wavy surface geometry
- Cause: Holding a small grinding point or rigid polisher in one place for too long, or using uneven pressure across smooth contours.
- Solution: Maintain fluid, sweeping hand motions across the workpiece. Use broader rubber wheels or flexible discs to blend broad surfaces evenly.
Defect 5: Dull, cloudy finish despite using high-gloss paste
- Cause: Contamination of the soft cotton wheel with leftover coarse pumice particles, or using an incompatible polishing compound.
- Solution: Clean or replace the cotton wheel. Ensure the prosthesis is thoroughly scrubbed clean of all pumice residue before introducing the final shine paste.
Summary and Purchasing Recommendations
Achieving a flawless, mirror-like finish on acrylic dentures relies on high-quality tools, correct technique, and a systematic process. By controlling handpiece speeds, utilizing wet-polishing methods, and maintaining strict grit progression, dental laboratories can consistently produce comfortable, hygienic, and aesthetically pleasing prostheses.If you are looking to bulk-purchase high-quality rubber polishers, cloth buffs, wool cones, and fine cotton buffs—or require a custom wholesale supply solution—please contact the technical expert team at Orobrush for samples and quotes.