

Industry News
Gemstone Polishing: A Step-by-Step Guide
Whether you are setting up an at-home studio or running a professional jewelry workshop, a well-polished gemstone is the difference between a dull surface and a brilliant sparkle. This guide walks you through the exact steps, tools, and polishing compounds needed to achieve a mirror-like finish.
Watch this excellent demonstration to understand the process, and scroll down to find the premium Orobrush tools you need to replicate these exact results.
Ready to achieve the results shown in the video? Equip your workbench with our professional-grade polishing compounds and rotary tools.
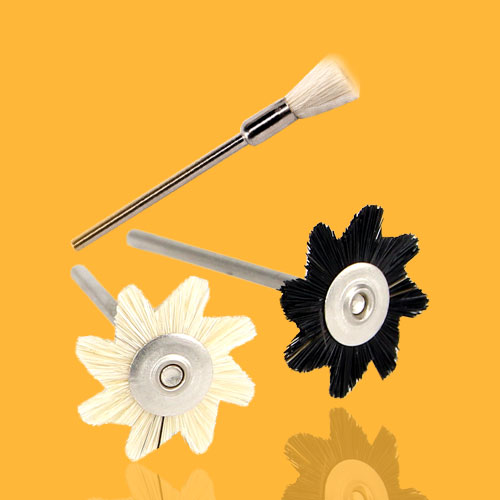
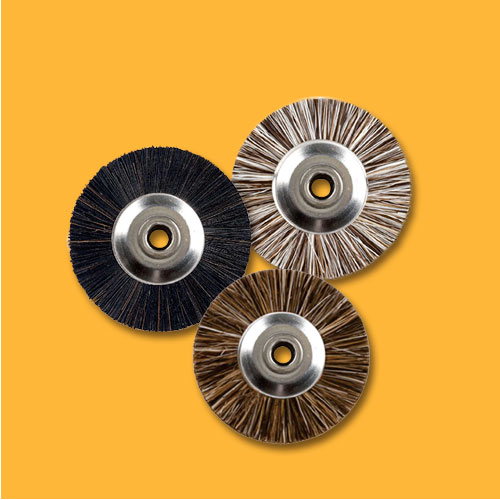
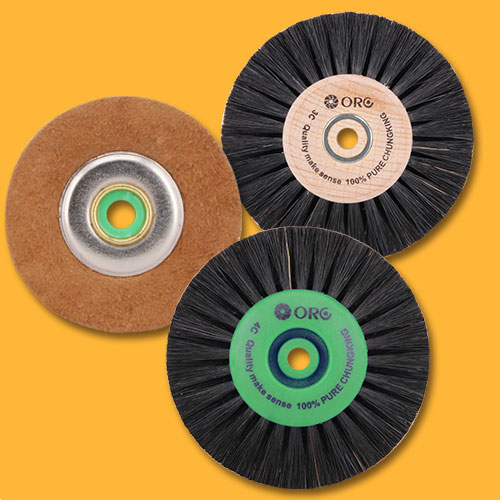
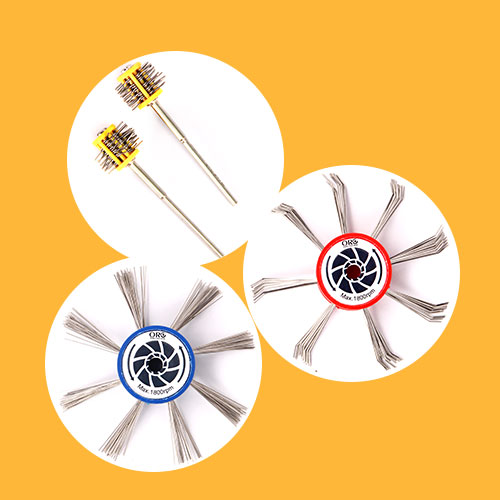
For the best experience, equip yourself with reliable polishing tools, to ensure precision and efficiency in every project.
Watch this excellent demonstration to understand the process, and scroll down to find the premium Orobrush tools you need to replicate these exact results.
Ready to achieve the results shown in the video? Equip your workbench with our professional-grade polishing compounds and rotary tools.
Preparing for Polishing a Gemstone
Tools and Materials You’ll Need
- Sandpaper (Various grits, from coarse to ultra-fine, are used to gradually smooth the gemstone surface.)
- Polishing paste or compound (abrasive cream that enhances shine and removes micro-scratches)
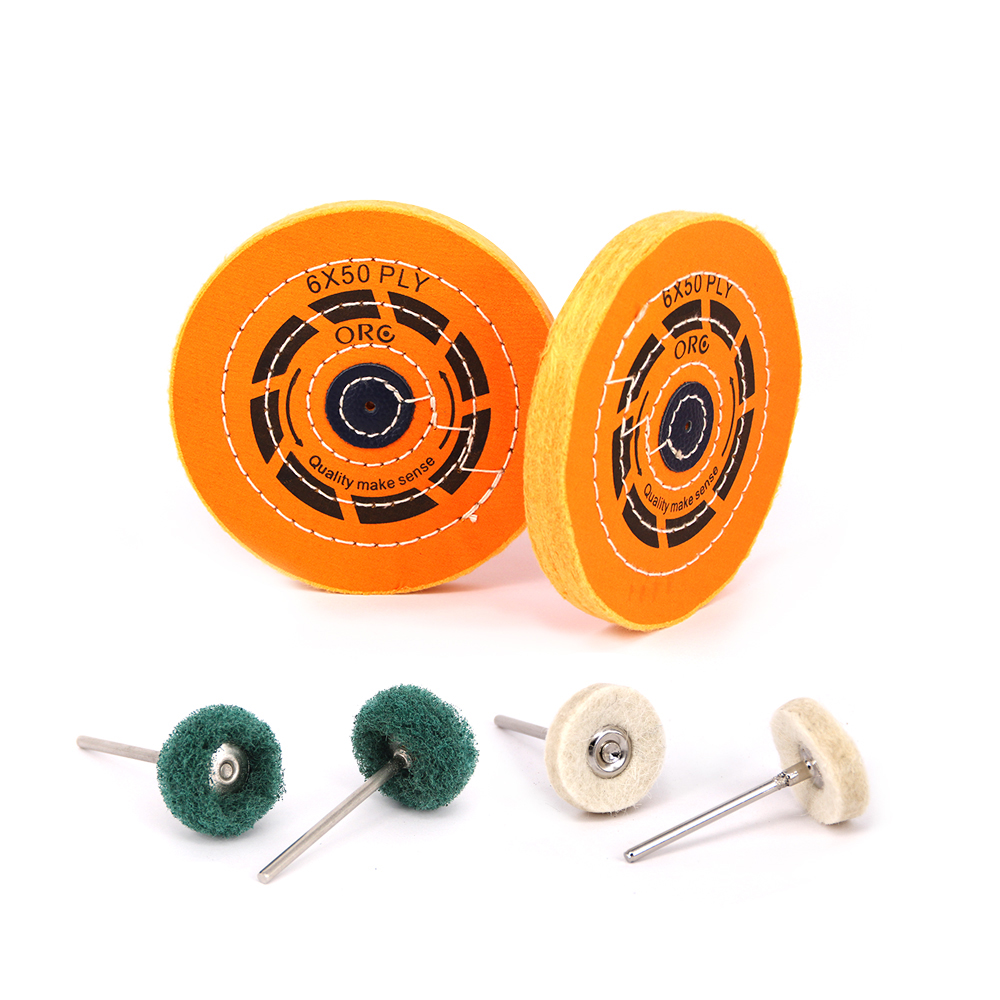
- Polishing cloth and cloth wheel (soft surface for applying paste and achieving a mirror-like finish)
- Jewelry micromotor (provides precise speed and torque control for efficient, accurate polishing)
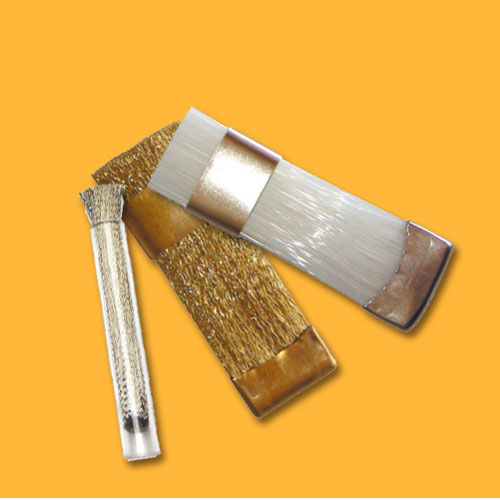
- Cleaning cloths and brushes (for wiping away residue and keeping the gemstone dust-free between steps)
Safety Equipment
- Protective goggles – to prevent dust or fragments from entering your eyes.
- Mask or respirator – to avoid inhaling fine dust during grinding.
- Stable work surface – ensures better control and safer handling of tools.
Step-by-Step Polishing Process
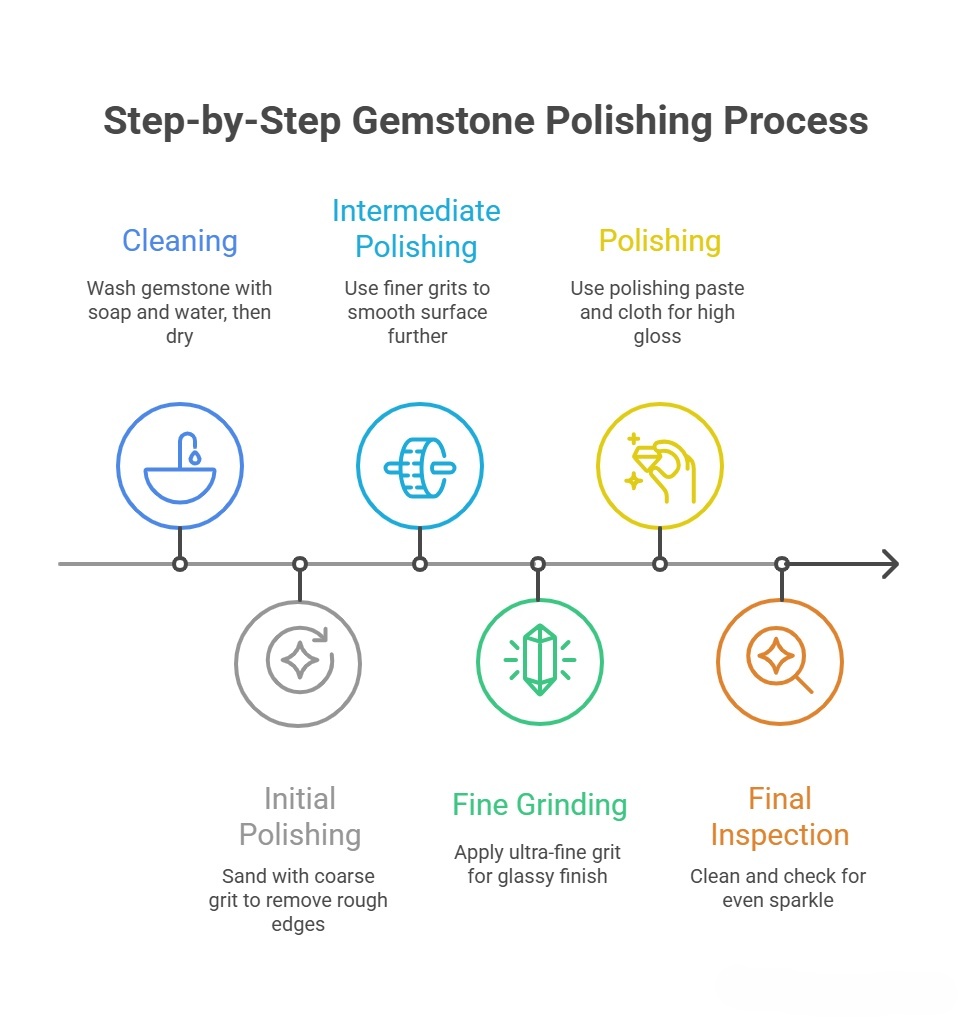
Step 1: Clean the Gemstone
Start by washing the stone with mild soap and warm water. Use a soft brush to remove any dirt in crevices. Dry it completely—moisture can interfere with polishing compounds.Step 2: Initial Polishing
Choose a coarse sandpaper (e.g., 400–600 grit) and gently sand the surface in small, even circles. This step removes rough edges, chips, and larger scratches. Keep your pressure light to avoid gouging.Step 3: Intermediate Polishing
Move to finer grits (800–1200). Each stage should erase the scratches left by the previous grit. Rinse the gemstone and your tools between grit changes to prevent cross-contamination. The stone should now look smoother, though still slightly matte.Step 4: Fine Grinding
Use ultra-fine sandpaper (1500–3000 grit). At this point, the gemstone surface should feel glassy and show a soft sheen. Fine grinding ensures that when you move to polishing, the shine will be even and free of blemishes.Step 5: Polishing
Apply a small amount of gemstone polishing compound (such as diamond paste, polishing powder, or specific polishing wax depending on the stone) to a cloth whee or use your jewelry micromotor with a felt or cloth tip. Work in steady, overlapping motions, keeping the tool moving so one spot doesn’t overheat. The gemstone should gradually develop a bright, reflective gloss.Step 6: Final Cleaning and Inspection
Wipe away polishing compound with a soft cloth. Hold the stone under strong light to check for scratches or dull spots. If any remain, return to the appropriate grit and repeat the process. A perfectly polished gemstone should sparkle evenly across its entire surface.Key Points for Polishing Different Gemstones
- Hard Gemstones (Sapphire, Ruby):
These require higher polishing speeds and tougher, abrasive-resistant materials. A micromotor is especially effective for maintaining consistent torque. - Soft Gemstones (Turquoise, Opal):
These need low pressure and slower speeds. Excessive force can cause overheating, cracks, or surface dulling.
Common Problems and Solutions
- Surface Scratches: Use progressively finer grit to gradually remove them.
- Uneven Polishing: Maintain even pressure and ensure the correct polishing compound is applied.
- Gemstone Heating: Reduce tool speed, increase cooling intervals, and avoid pressing too hard.
Professional Tips and Tool Recommendations
- Jewelry Micromotor: For consistent torque and precision, a micromotor greatly improves polishing results while reducing hand fatigue.
- High-Quality Polishing Supplies: Investing in premium polishing paste and cloth wheels produces a more brilliant shine and longer-lasting results.
- For professional-grade jewelry polishing supplies, you can visit the Orobrush official website, which offers tools and materials trusted by jewelers worldwide.
Conclusion
Polishing gemstones is more than just a finishing touch—it transforms a rough surface into a dazzling jewel that highlights the stone’s natural brilliance and increases its value. By following a step-by-step approach, using the right tools, and adjusting techniques for different types of gemstones, even beginners can achieve professional-quality results.For the best experience, equip yourself with reliable polishing tools, to ensure precision and efficiency in every project.