

Industry News
How to Polish Silver?
Getting a true mirror finish on silver jewelry is what separates professional jewelers from amateurs. It’s not just about removing tarnish—it demands a careful, step-by-step approach using the right abrasives and techniques. This guide will walk you through the exact tools, compounds, and methods needed to make your silver pieces highly reflective and scratch-free.
Part I: Understanding the Mirror Finish
A true mirror finish on silver reflects images with perfect clarity, much like glass. This requires eliminating all microscopic scratches through systematic polishing—not merely removing tarnish.The process must be done in stages. Start with rough polishing to erase deep scratches, then medium polishing to smooth out those marks, and finish with jeweler’s rouge for final refinement. Skipping any stage leads to a cloudy or dull result.
Always work safely: wear goggles, gloves, and a mask. Keep your workspace clean to prevent coarse grit from contaminating fine polishing wheels, which can instantly scratch your piece.
Part II: The Right Tools and Materials
Your success depends on choosing the proper jewelry polishing supplies for each stage.2.1 Choosing Polishing Tools
For professional results, you need controlled rotary power:- Bench Polisher: The most efficient choice, using larger wheels to cover more surface area.
- Rotary Tools: A Dremel or flexible shaft machine works perfectly for smaller pieces, detailed areas, and hard-to-reach spots.
| Wheel Type | Purpose | Use With |
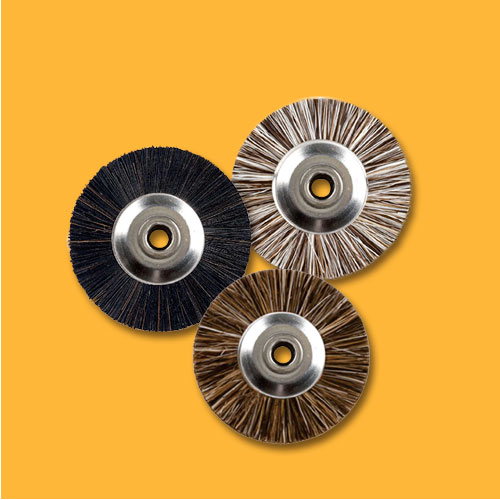
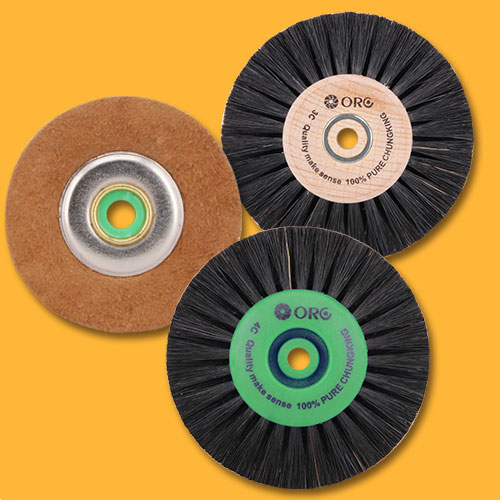
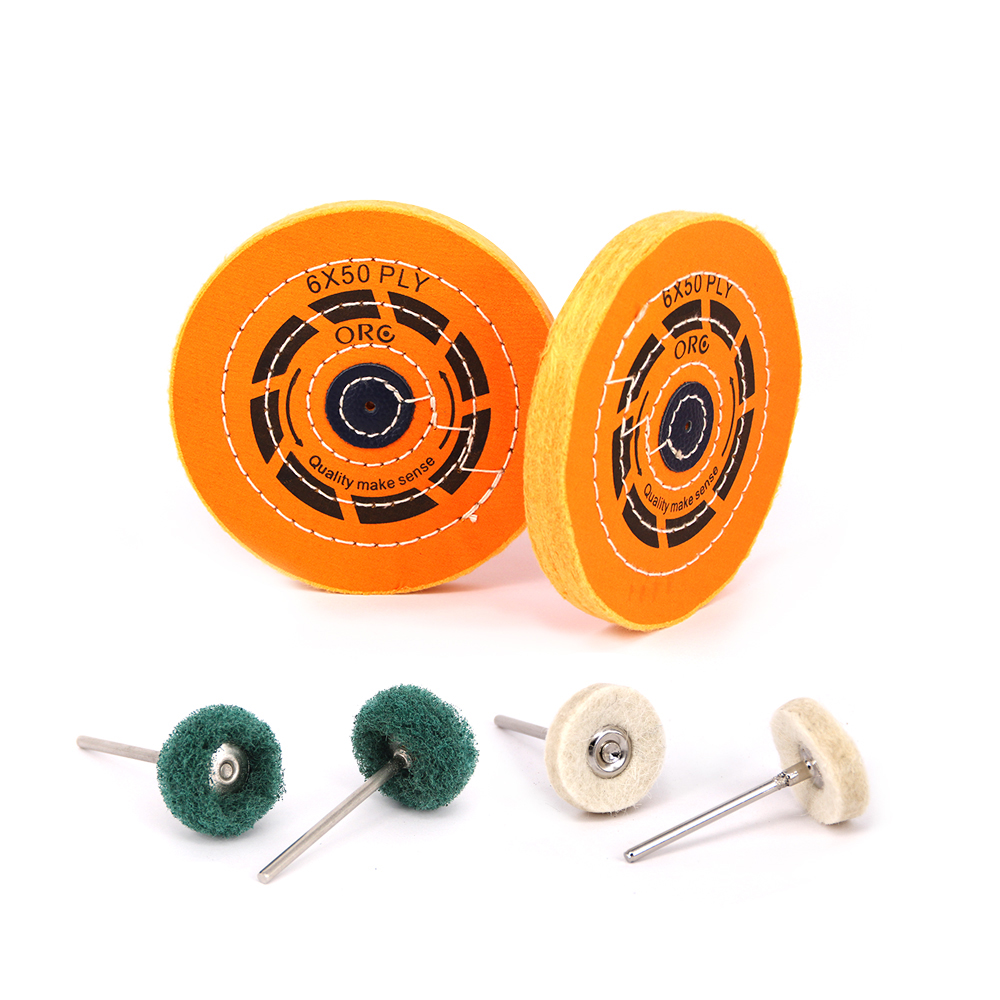
| Stitched Cotton Mops | Firmer wheels used for initial, coarser cutting. | Tripoli, Green/Blue Compound |
| Loose Cotton Mops (Swansdown) | Soft, unstitched wheels for the ultimate final finish and maximum shine. | Jeweler's Rouge |
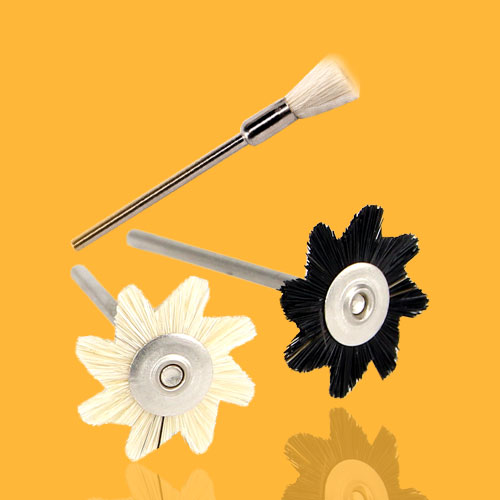
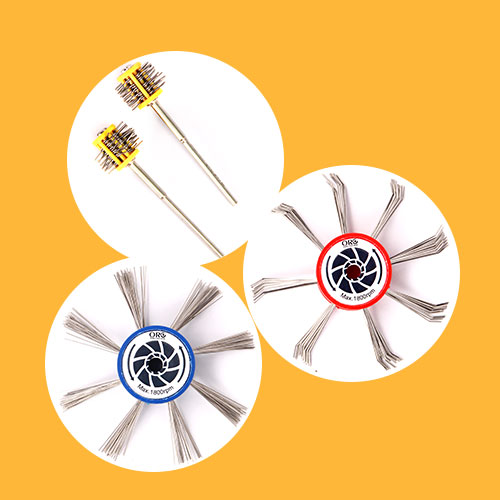
| 3M Radial Bristle Discs | Graded plastic bristle discs, ideal for pre-polishing and consistent smoothing without compound. | Used alone |
2.2 Polishing Compound Grading (Paste)
Use a progressive series of polishing compounds (also called pastes or rouges) for best results:| Stage | Compound Type | Purpose | Recommended Wheel |
| Rough Cutting | Tripoli (Brown/Black Paste) | Heavy abrasion, removing deep scratches. | Stitched Cotton Mop (Hard) |
| Intermediate | Green or Blue Compound | Medium abrasion, smoothing Tripoli marks. | Stitched/Flannel Wheel (Medium) |
| Final Finish | Jeweler's Rouge (Red or White Paste) | Essential for mirror finish—micro-abrasion to perfect the surface. | Loose Cotton Mop (Soft) |
2.3 Additional Materials
- Sandpaper/Sanding Stick: Start with high-grit sandpaper like 600 grit or higher if you have deep scratches before using polishing wheels.
- Cleaning Agent: A good ultrasonic cleaner or strong, mild detergent (like dish soap) is necessary for degreasing.
Part III: Step-by-Step Mirror Finish Process
Follow these steps carefully to achieve professional shine on your sterling silver jewelry.
3.1 Pretreatment and Defect Removal (The Rough Cut)
Aim for a uniform surface free of deep imperfections.- Initial Check: Examine your silver under bright light. For deep scratches or heavy oxidation, begin with high-grit sandpaper (600 grit and up) or a coarse 3M bristle disc.
- Rough Cut: Apply Tripoli (brown/black) compound to a dedicated hard buffing wheel.
- Technique: Hold the silver firmly and use gentle, even pressure on the wheel, constantly moving the jewelry. Your goal is to remove all existing scratches and achieve a clean, dull shine. Don't proceed until all deep defects are eliminated.
3.2 Intermediate Polishing and Surface Smoothing
This transition phase prepares the surface for final mirror finishing.- Switch Tools: Move to your medium-grade compound (green or blue) and a somewhat softer wheel.
- Focus: Polish the entire surface until the scratches left by the Tripoli compound disappear. The surface should appear uniformly glossy but not yet mirror-like.
3.3 Final Mirror Polishing (The Rouge Finish)
This step creates the signature high reflection.- The Key Compound: Use a fresh, loose cotton mop reserved only for your red rouge or white finishing compound.
- Technique: Apply very light pressure and keep the jewelry moving quickly across the wheel. The compound microscopically heats and "flows" the silver's top layer to create the final reflection.
- Avoid Overheating: Too much pressure or lingering in one spot generates excessive heat, which can damage softer stones or make silver appear cloudy and uneven.
3.4 Thorough Cleaning (Degreasing)
All polishing compounds contain grease. Leftover residue will dull the shine and attract dust.- Remove Grease: Right after final polishing, clean the jewelry completely in an ultrasonic cleaner with degreasing detergent, or scrub vigorously with a soft toothbrush and hot, soapy water.
- Inspection: Rinse thoroughly. Water should "sheet" off the silver without beading. If water beads form, grease remains on the surface.
Part IV: Maintaining the Shine
A mirror finish needs proper care. Here's how to keep your polished silver bright and reflective.4.1 Daily Care for the Mirror Finish
- Use: For daily maintenance, only use a soft jewelry polishing cloth (often treated with a micro-abrasive). Gently wipe the piece to remove light oils and dust.
- Avoid: Prevent silver from contacting hard surfaces to avoid new scratches. Remove jewelry before cleaning, exercising, or sleeping.
4.2 Storage Tips
Tarnish (oxidation) quickly dulls a mirror finish.- Airtight Storage: Keep polished sterling silver in an airtight, anti-tarnish bag or specialized jewelry box with anti-oxidation lining.
- Avoid: Never store silver near humidity, rubber bands, wool, felt, or certain painted materials, as these emit sulfur gases that speed up tarnishing.
4.3 Common Problems and Solutions
| Problem | Cause | Solution |
| Small Scratches Reappear | Normal wear or improper cleaning. | Use a fine polishing cloth, or repeat the final polishing step using only rouge. |
| Surface is Yellow/Black (Tarnish) | Oxidation from airborne sulfur. | Clean before polishing. Use a professional silver soak to safely remove oxidation, then follow with fine polishing. |
| Finish Looks Cloudy/Smudged | Compound residue left on jewelry. | Repeat the thorough cleaning step, possibly soaking longer in a degreasing solution. |