

Industry News
Jewelry Polishing Tips: How to Remove Scratches and Imperfections
Jewelry’s charm lies in its sparkling shine and smooth, flawless finish. Everyday wear, however, can leave scratches and blemishes that dim its glow. The good news? With the right tools and techniques, you can often restore your favorite pieces to their original brilliance. This guide covers essential jewelry polishing tools and practical tips to safely remove scratches, ensuring your treasures shine bright. Choosing the right tools is key to achieving stunning results without risking damage.
For minor issues like smudges, fingerprints, or light scratches, a polishing cloth is your go-to tool. Simple yet effective, these cloths can work wonders when used correctly. Let’s explore the types and how to use them.
Gently rub the jewelry with the appropriate cloth using smooth, even strokes. For impregnated cloths, follow the manufacturer’s instructions. After cleaning, use the cloth’s clean side to buff the piece to a dazzling shine.
For slightly deeper scratches or dullness, gentle polishing compounds can restore your jewelry’s luster. These products combine mild abrasives and chemical agents to smooth metal surfaces effectively.
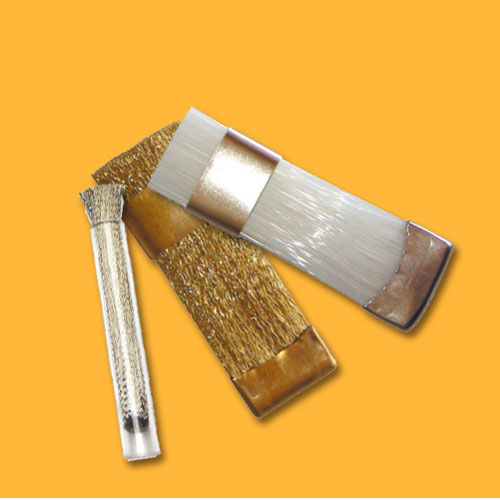
For tiny, localized scratches, fine-grit polishing sticks or pads offer targeted solutions. These tools require caution, especially for beginners, to avoid over-polishing.
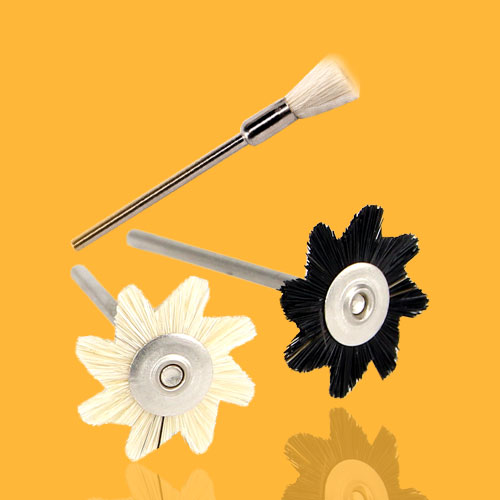
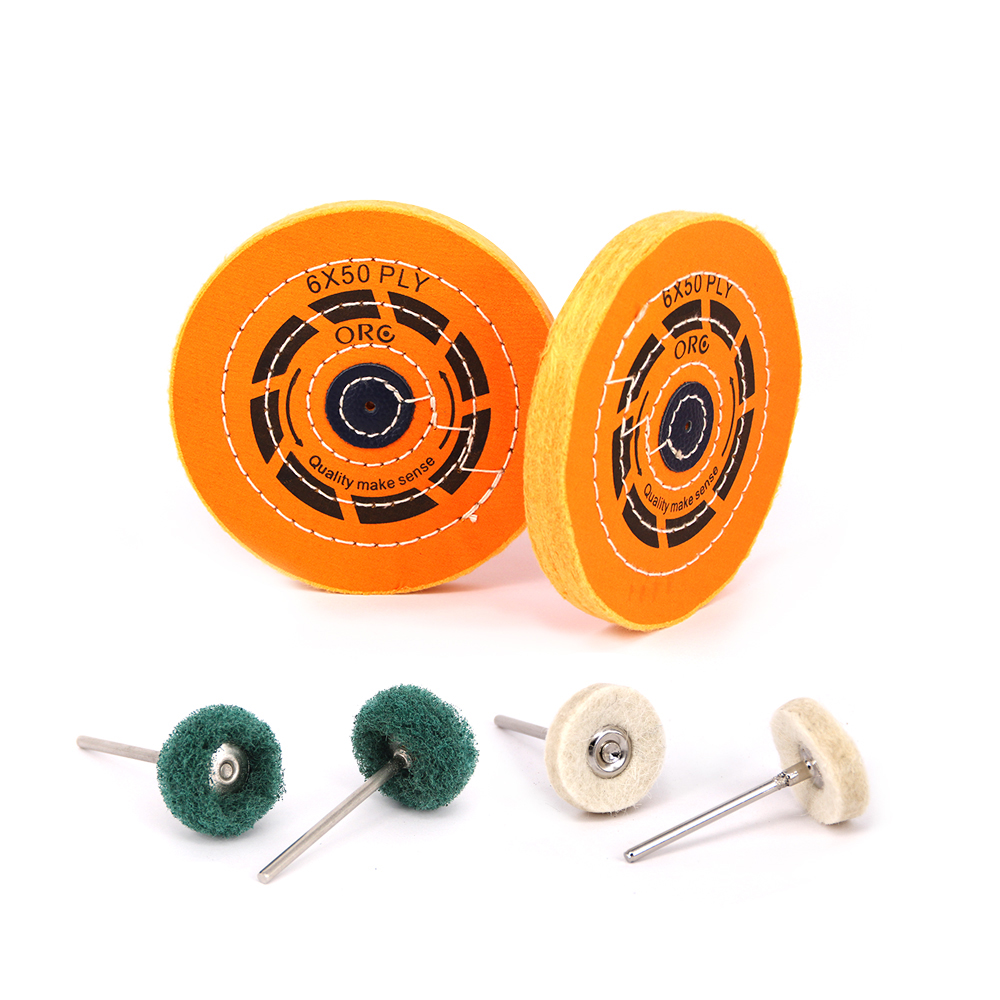
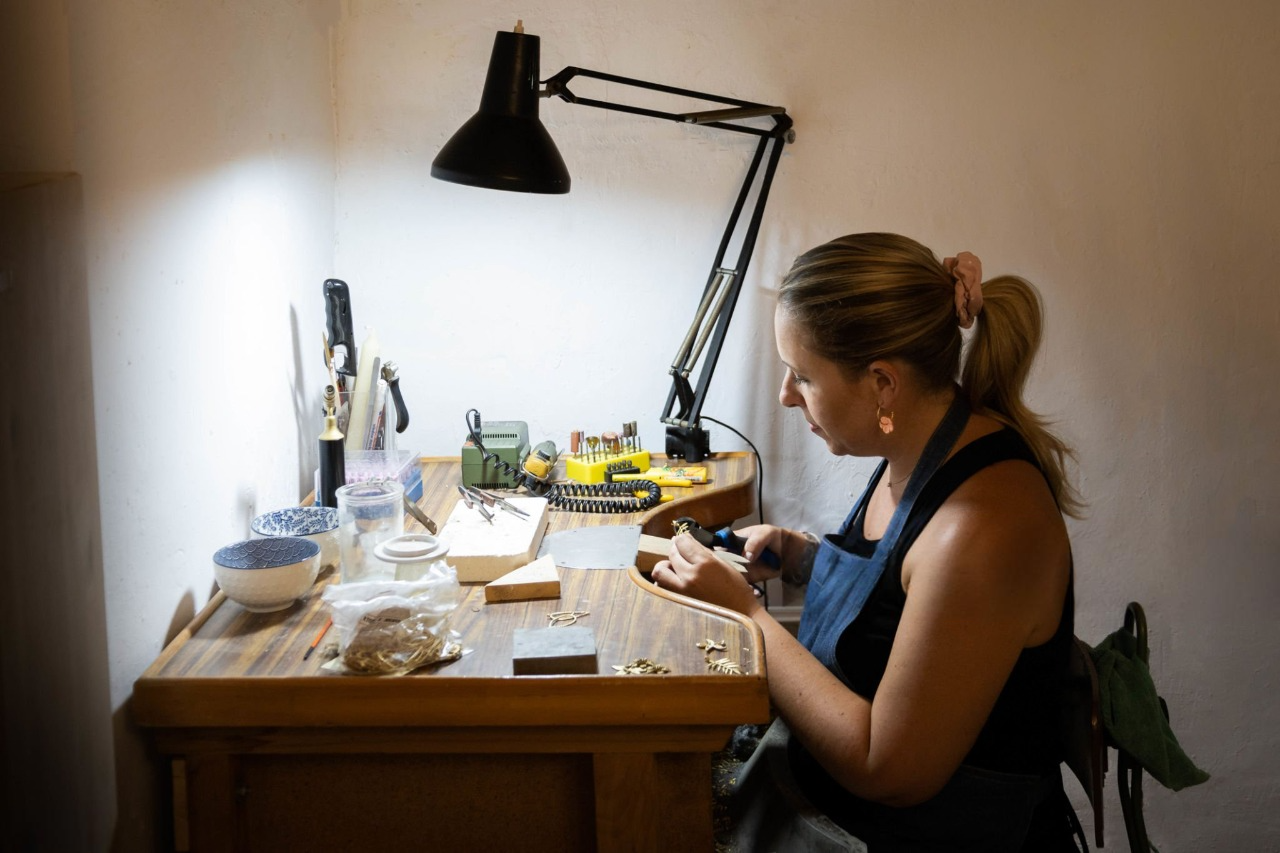
Rotary tools with polishing attachments can be effective but are risky for beginners. Their high speed and aggressive action can damage jewelry if mishandled. Stick to manual jewelry polishing techniques until you’re confident with advanced tools.
Here’s a quick guide to using beginner-friendly polishing tools:
Proper maintenance of your jewelry polishing tools ensures they remain effective and safe for your jewelry.
Polishing scratches and imperfections from your jewelry is manageable with the right tools and a gentle approach. Start with simple methods like polishing cloths and progress to compounds or specialized tools as needed. Patience is your ally in jewelry polishing. For stubborn scratches or delicate, valuable pieces, consult a professional jeweler. Explore high-quality jewelry polishing tools at Orobrush.com to keep your collection sparkling.
The Foundation of a Flawless Finish: Polishing Cloths
For minor issues like smudges, fingerprints, or light scratches, a polishing cloth is your go-to tool. Simple yet effective, these cloths can work wonders when used correctly. Let’s explore the types and how to use them.

Types of Polishing Cloths:
| Type of Polishing Cloth | Typical Use | Key Features |
| Microfiber Cloths | General cleaning and buffing of all metals | Ultra-fine fibers gently lift dirt and oils without scratching. Dedicated use for jewelry recommended. |
| Jewelry Polishing Cloths with Impregnated Compounds | Removing light tarnish and superficial scratches on metals (e.g., silver, gold) | Pre-treated with gentle polishing compounds. Often metal-specific for optimized results. |
| Dual-Layer Polishing Cloths | Minor touch-ups on various metals | Inner layer contains polishing compounds; softer outer layer buffs. A 2-in-1 cleaning/polishing tool. |
How to Use Polishing Cloths:
Gently rub the jewelry with the appropriate cloth using smooth, even strokes. For impregnated cloths, follow the manufacturer’s instructions. After cleaning, use the cloth’s clean side to buff the piece to a dazzling shine.
Tackling Stubborn Marks: Gentle Polishing Compounds
For slightly deeper scratches or dullness, gentle polishing compounds can restore your jewelry’s luster. These products combine mild abrasives and chemical agents to smooth metal surfaces effectively.
Understanding Polishing Compounds:
| Feature | Description | Key Considerations |
| Mild Abrasives | Contain very fine particles that gently buff the metal surface, removing light scratches. | Choose a compound specifically formulated for jewelry and the type of metal (e.g., gold polish, silver polish) to avoid damage. |
| Chemical Action | Some polishes include mild chemicals that help dissolve tarnish and oxidation, aiding in cleaning and polishing. | Be aware of the chemical composition and ensure it’s safe for your specific metal. Follow manufacturer instructions carefully. |
| Beginner-Safe Options | Polishes from well-known brands with clear instructions and formulations designed for general jewelry care. Avoid overly aggressive or industrial-strength options. | Start with reputable brands and read instructions thoroughly. Opt for polishes specifically labeled for jewelry use to minimize the risk of damage, especially when new to polishing. |
How to Apply Polishing Compounds:
- Clean the Jewelry: Remove dirt or debris with a soft cloth to prep the surface.
- Apply Sparingly: Dab a small amount of compound onto a soft polishing cloth—less is more.
- Rub Gently: Use circular or back-and-forth motions, following the scratch’s grain if visible. Avoid heavy pressure.
- Wipe Clean: Remove all residue with a clean cloth.
- Buff to a Shine: Polish with a soft, clean cloth for a radiant finish.
Precision Fixes: Specialized Polishing Tools
For tiny, localized scratches, fine-grit polishing sticks or pads offer targeted solutions. These tools require caution, especially for beginners, to avoid over-polishing.
Exploring Fine-Grit Polishing Tools:
- Ultra-Fine Grit: High-grit surfaces allow precise, controlled material removal.
- Targeted Design: Perfect for small areas or intricate details.
- Material-Specific: Always choose tools suited to your jewelry’s metal type.
Tips for Beginners:
- Go Slow: Use light pressure and gentle strokes to avoid removing too much material.
- Test First: Try the tool on a hidden area to check for unwanted effects.
- Follow Instructions: Stick to the manufacturer’s guidelines for safe use.
A Note on Rotary Tools:
Rotary tools with polishing attachments can be effective but are risky for beginners. Their high speed and aggressive action can damage jewelry if mishandled. Stick to manual jewelry polishing techniques until you’re confident with advanced tools.
Step-by-Step Guide to Jewelry Polishing
Here’s a quick guide to using beginner-friendly polishing tools:
Microfiber Cloth for Light Cleaning:
- Ensure the cloth is clean and debris-free.
- Rub the jewelry gently with smooth strokes, focusing on smudges or dull spots.
- Buff until the shine returns.
Impregnated Polishing Cloth:
- Follow the manufacturer’s instructions.
- Rub the treated cloth gently over the affected area.
- Use the clean section to buff to a glossy finish.
Gentle Polishing Compound:
- Clean and dry the jewelry.
- Apply a tiny amount of compound to a soft cloth.
- Rub the scratched area lightly.
- Wipe away residue with a clean cloth.
- Buff with a separate soft cloth for maximum shine.
Fine-Grit Polishing Stick or Pad (Use with Caution):
- Ensure both the jewelry and tool are clean.
- Test on a hidden area with light pressure.
- Gently rub the scratch, following its direction.
- Wipe away residue and finish with a polishing cloth.
Caring for Your Polishing Tools
Proper maintenance of your jewelry polishing tools ensures they remain effective and safe for your jewelry.
Polishing Cloths:
- Keep them clean and store in a sealed bag or container.
- Replace when soiled or less effective. For impregnated cloths, follow the manufacturer’s lifespan guidelines.
Polishing Compounds:
- Store in a cool, dry place with the lid tightly closed.
- Use sparingly to maximize longevity.
- Discard if the compound becomes dry, gritty, or discolored.