
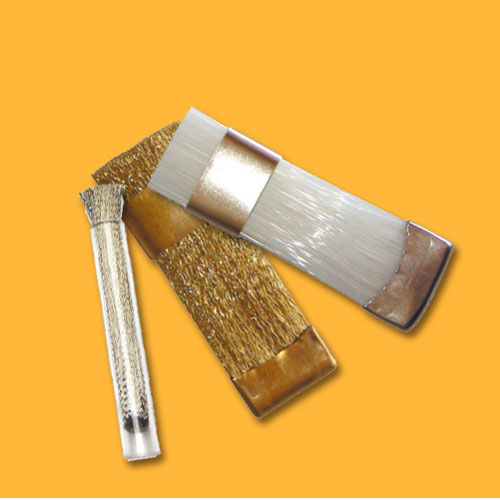

Remove Firescale From Silver With Radial Bristle Disc
After soldering or annealing 925 sterling silver jewelry, a stubborn purplish-gray oxidation layer known as firescale (or firestain) often appears on the surface. Overcoming this issue is a daily challenge for silversmiths. While traditional methods rely heavily on harsh chemicals and tedious manual labor, radial bristle discs offer a faster, safer, and far more precise modern solution.
I. What is Firescale and Why Pickling Fails
At high temperatures, the copper alloy in sterling silver reacts with oxygen, creating stubborn copper oxide that penetrates deep beneath the metal's top layer.Traditional chemical pickling only removes surface-level oxidation. Your jewelry might emerge from the pickle pot looking perfectly white, but the moment you start polishing, those underlying dark, purplish spots reappear. Because the stain is embedded within the metal structure, true firestain removal requires physical cutting and sanding to reach the pure, uncontaminated silver beneath.

II. Why Radial Bristle Discs are the Industry Standard
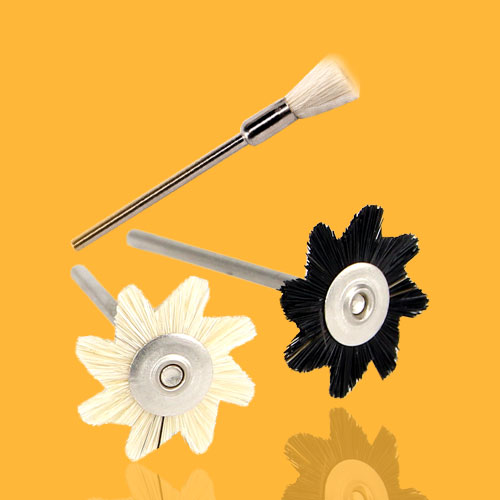
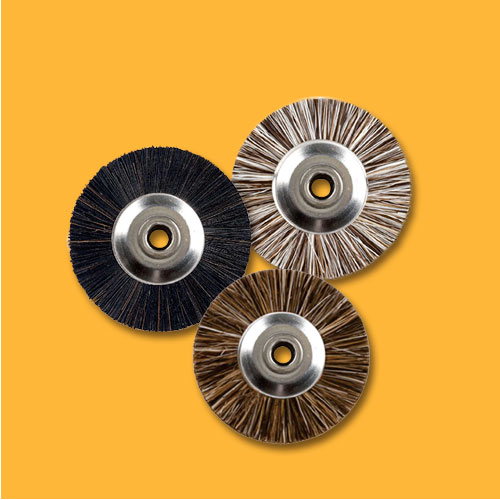
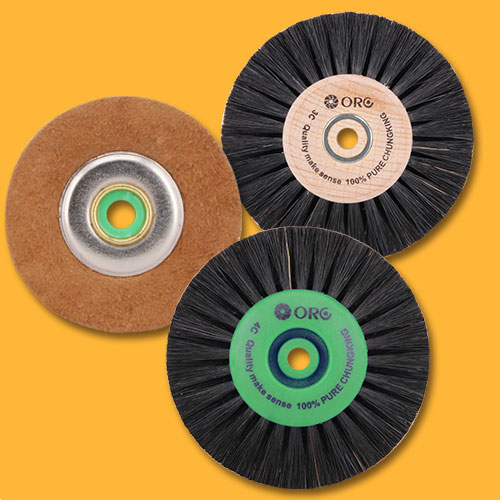
Abrasive bristle wheels have largely replaced traditional rubber wheels and wire brushes in professional workshops for three simple reasons:- Preserves Fine Details: The highly flexible bristles easily conform to the metal, reaching into micro-pave settings and intricate crevices without flattening or altering the jewelry's original geometric design.
- No Messy Compounds: The abrasive particles are permanently embedded within the bristles themselves. This eliminates the need for greasy polishing compounds, keeping your workbench and the jewelry perfectly clean.
- Gentle and Controlled: They generate significantly less heat than traditional abrasives and offer a highly controlled, predictable cut, reducing the risk of damaging delicate pieces.
III. The 4-Step Grit Sequence for Complete Firescale Removal
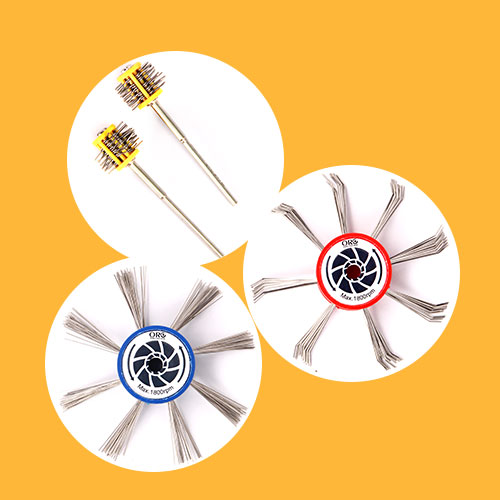
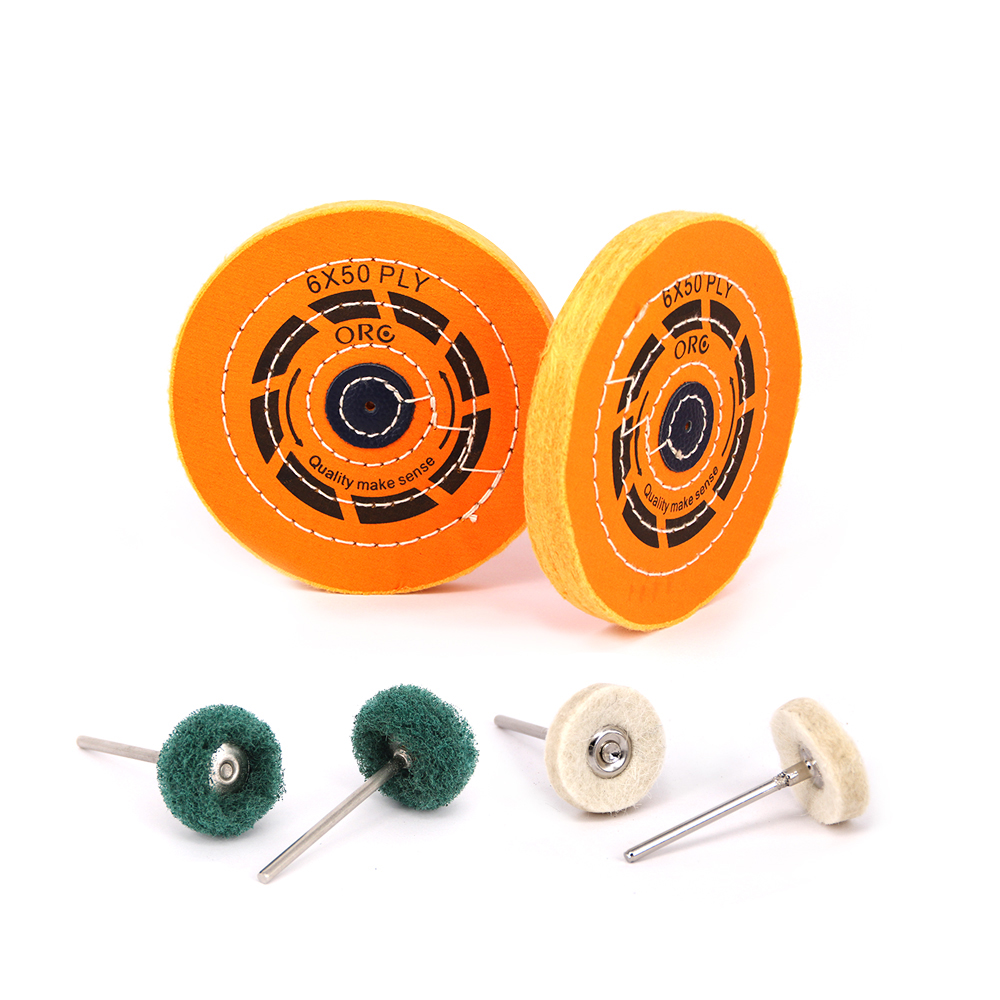
The absolute secret to flawlessly removing firescale is progressive sanding. Skipping a grit level is the most common mistake beginners make—it leaves deep micro-scratches that become impossible to erase during the final high-gloss stage.To thoroughly clean the silver and restore a flawless luster, follow this detailed 4-step protocol. (Crucial Setup: Always stack at least 3 to 6 discs on your mandrel, ensuring the curved bristles are sweeping forward with the rotation of your motor.)

1. Heavy Removal: 80 Grit (Yellow)
This is your heavy-duty clearing tool. The yellow wheel powerfully cuts through the metal to strip away the thickest layers of dark, purplish-gray oxidation.- Recommended Speed: 15,000 – 20,000 RPM.
- Visual Cue: Stop when the silver takes on a uniform, frosty-white, heavily brushed appearance. Inspect the piece closely under a bright bench lamp—if you still see faint, cloudy purple shadows, the firescale is not fully removed. Keep going.
- Technique: Keep your hand moving constantly in even sweeps. Do not linger in one spot, or you risk carving uneven divots into the soft silver.

2. Surface Blending: 220 Grit (Red)
Once the firescale is gone, your metal will be covered in aggressive scratches from the 80-grit wheel. The red wheel acts as the critical bridge, smoothing out these deep valleys and cleaning out any residual oxidation trapped in engraved lines.- Recommended Speed: 15,000 – 20,000 RPM.
- Technique: Use a cross-hatching method. If you swept horizontally with the yellow disc, sweep vertically with the red disc. Intersecting the previous sanding paths levels the surface topography much faster than sanding in a single direction.
- Visual Cue: The surface should begin to feel smooth to the touch, with the deep, frosty gouges replaced by a fine, directional satin finish.

3. Pre-Polishing: 400 Grit (Blue)
This step bridges the gap between sanding and true polishing. The blue wheel eliminates the minor imperfections left by the red stage, refining the surface into a perfectly uniform canvas.- Recommended Speed: 15,000 – 30,000 RPM.
- Technique: You can increase your micromotor speed here. The higher RPM uses centrifugal force to flare the bristles slightly, allowing them to sweep over the metal gently rather than aggressively cutting into it.
- Visual Cue: The metal will transform into a beautiful, glowing semi-matte or pearlescent finish.
- Pro Tip: Before moving to the final step, wipe your jewelry with a clean microfiber cloth to remove any stray abrasive dust.

4. Final Luster: 1 Micron (Light Green)
This is where the magic happens. The ultra-fine light-green wheel burnishes the metal, restoring the 925 sterling silver to its signature, highly reflective mirror finish.- Recommended Speed: 15,000 – 30,000 RPM.
- Technique: Apply only the absolute minimum pressure—let the very tips of the bristles kiss the metal at a high speed.
- Visual Cue: You should see a flawless, high-contrast mirror reflection completely free of ripple marks or haze.
IV. Equipment Matters: Choosing the Right Professional Micromotor
Your abrasive consumables are only as effective as the tool driving them.- The Critical Role of Torque & RPM: Removing hard fire scale requires stable, unyielding cutting force. You must use an industrial-grade or professional brushless micromotor (capable of up to 50,000 RPM). High torque ensures the tool does not stall or stutter when the bristle disc encounters physical resistance.
- Spindle Concentricity: Spindle runout (wobble) will ruin your finish. A high-concentricity handpiece ensures perfectly smooth rotation, preventing surface ripples (chatter marks) on the jewelry and stopping the discs from shattering prematurely.
- Strict Distinction of Equipment Grades: Processing jewelry requires professional-grade (jewelry or dental) micromotors. Never substitute these with low-torque nail art drills. Manicure tools lack the internal bearings and torque necessary for metalwork; forcing them to grind silver will burn out the motor and destroy your polishing wheels.
V. Pro Tips for Maximizing Disc Lifespan
- Proper Assembly: Stacking 3 to 6 discs creates a "brush" with sufficient contact area. A single thin disc will simply bend over and do no work.
- Pressure Control: Let the tips of the bristles do the work. Pressing the disc hard against the metal does not speed up the process; it only bends the bristles flat, causing them to snap off immediately and skyrocketing your consumable costs.
Elevate Your Production with Orobrush
High-quality tools directly determine the yield rate and production efficiency of any jewelry manufacturing facility. Whether you operate an independent studio or a large-scale factory, consistency in your finishing process is non-negotiable.
Orobrush provides industry-leading polishing solutions designed for continuous, professional use. As a dedicated manufacturer and supplier, we offer significant advantages through factory-direct wholesale pricing and comprehensive OEM/ODM production solutions tailored to your specific technical requirements.
We are actively expanding our global presence and invite international tool distributors to join our authorized distribution network. For bulk purchasing inquiries, or to learn how our abrasive solutions can streamline your manufacturing, contact our sales team today to secure your supply of premium radial bristle discs.