

Industry News
The 7 Best Dremel Bits for Metal Polishing
In jewelry crafting, a mirror finish is the hallmark of excellence. This flawless, reflective polish not only dazzles but also amplifies a gemstone’s brilliance, elevating a piece to premium status. Yet, many hobbyists using Dremel tools struggle to move beyond a basic "high polish" to achieve that crystal-clear, professional-grade shine, especially when working with precious metals like sterling silver and gold.
The secret lies in treating polishing as a disciplined, sequential process rather than a single buffing step. This guide outlines the 7 essential Dremel bits—from initial abrasion to final luster—that, when used in order, guarantee a stunning mirror finish. We'll break it down into four key stages, always pairing each bit with the right polishing compound for optimal results.
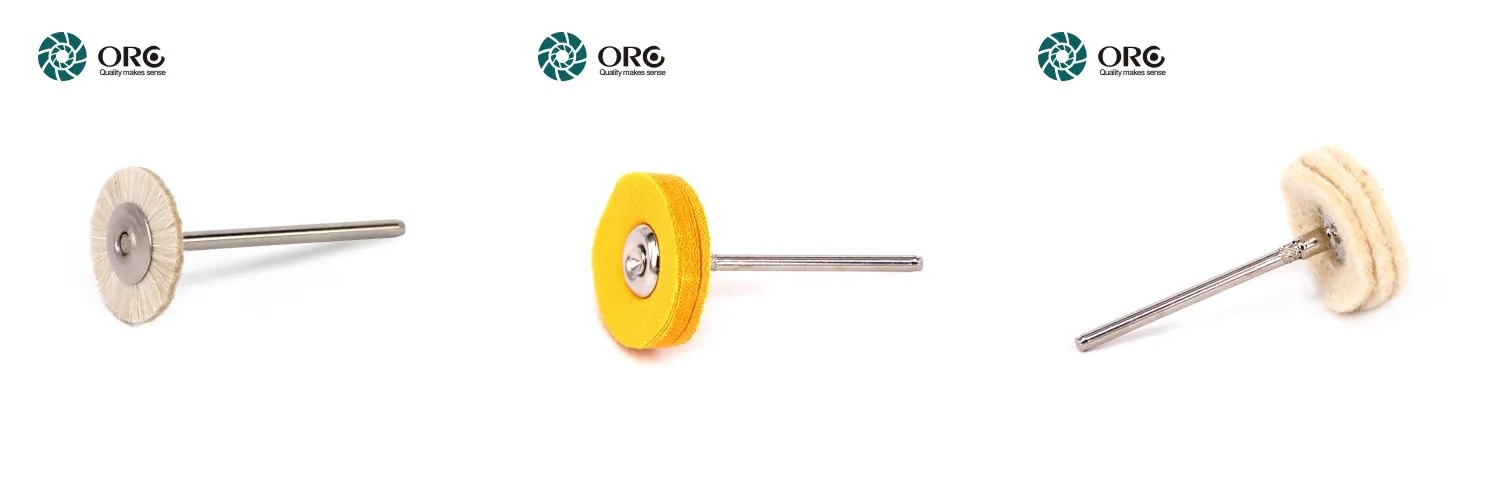
Upgrade your Dremel kit today. Stop guessing and start polishing with precision. Visit the official Orobrush website to explore their professional line of Dremel bits and take your craft to the next level.
The secret lies in treating polishing as a disciplined, sequential process rather than a single buffing step. This guide outlines the 7 essential Dremel bits—from initial abrasion to final luster—that, when used in order, guarantee a stunning mirror finish. We'll break it down into four key stages, always pairing each bit with the right polishing compound for optimal results.
Scratch Removal and Surface Smoothing (Basic Stage)
This stage lays the groundwork for a mirror finish. Any scratches or textures left unresolved here will mar the final result.
| No. | Dremel Bit | Core Function | Pro Technique & Notes |
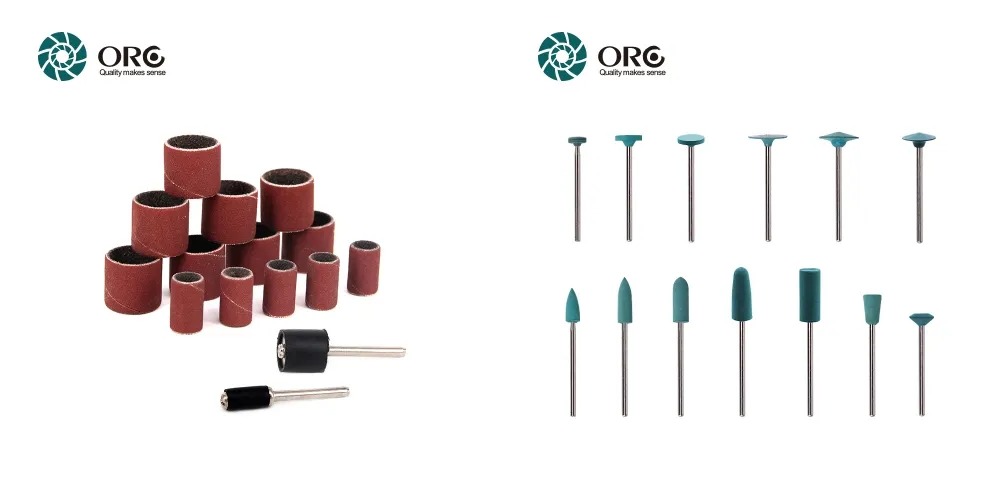
| 1 | Abrasive Sanding Drum/Band | Shaping and Rapid Scratch Removal: Smooths edges, removes casting flash, and erases deep file marks. | Crucial Caution: This is for early shaping only. Never use it later. Move quickly to avoid overheating the metal, which can cause discoloration or "pitting." |
| 2 | Silicone or Rubber Abrasive Wheel | Surface Planing and Transition: Eliminates fine sanding lines left by the sanding band. | The anti-haze tool: Use this before any cloth buffing. Use dry with light, even pressure. For complex details, a Radial Bristle Brush is an excellent professional alternative. |
Pre-polishing and Shining (Intermediate Stage)
Here, we introduce polishing compounds and medium-cut tools to build brightness and remove micro-scratches.
| No. | Dremel Bit | Core Function | Pro Technique & Notes |
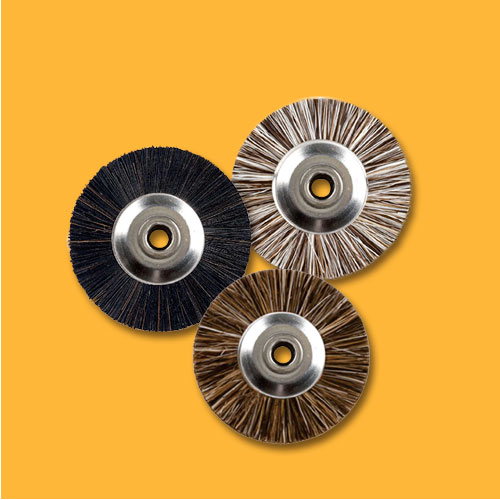
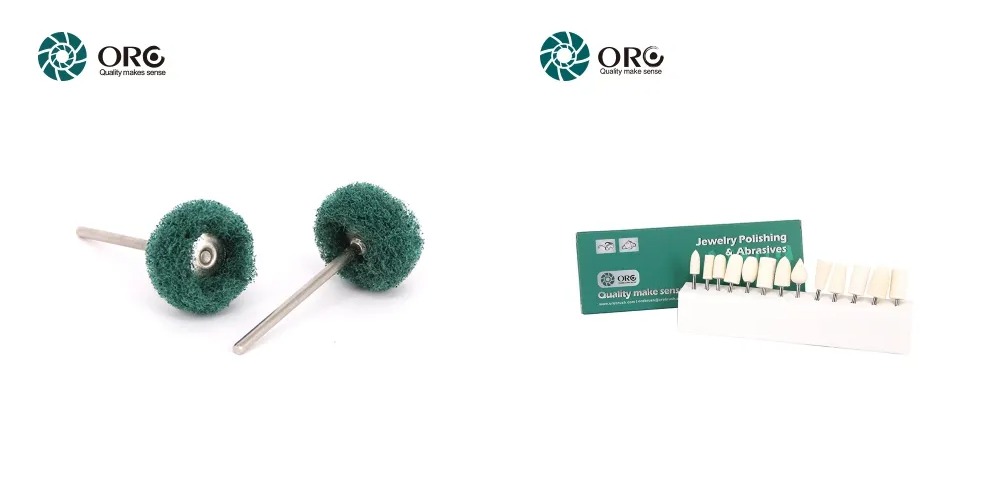
| 3 | Miniature Fibre Buff (Brown/Green) | Dry Pre-polishing and Oxide Removal: Fibers embedded with abrasives (color indicates grit) clean light oxidation. | A low-mess alternative to wire brushes. Ideal for pre-polishing without excessive residue. |
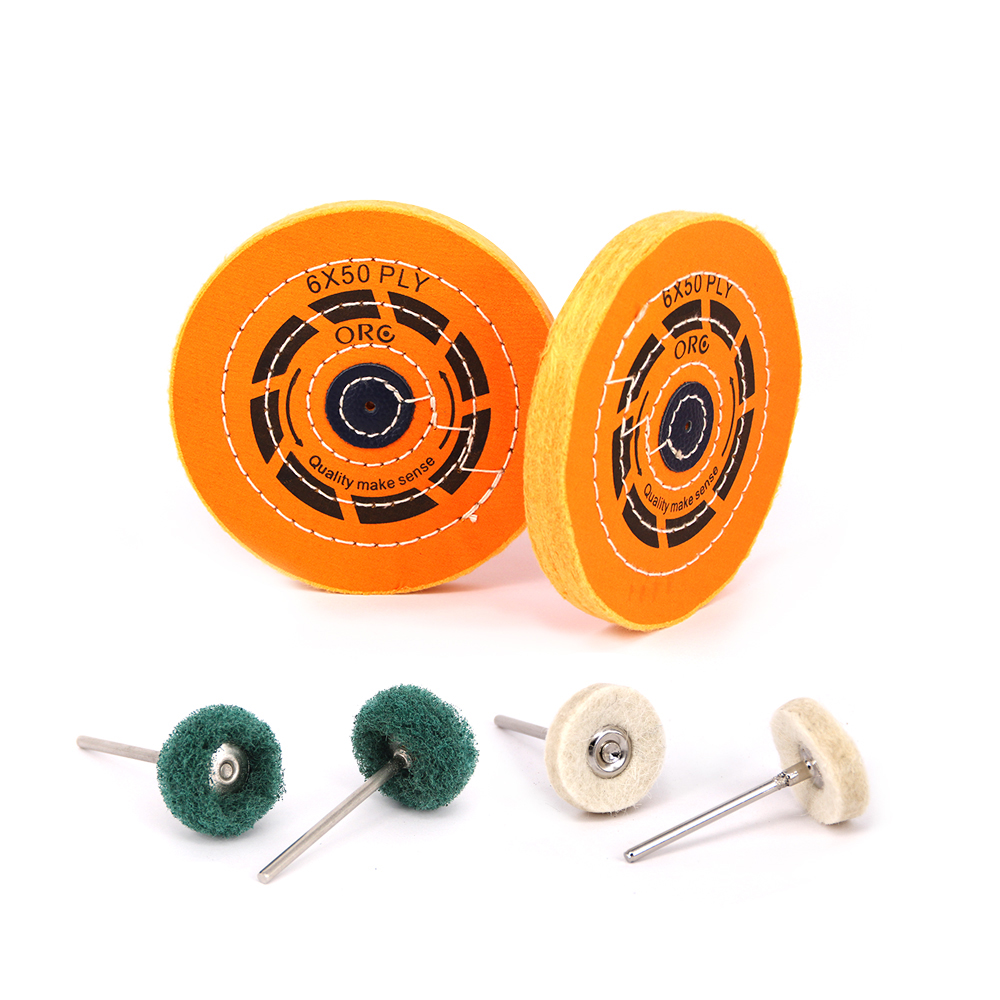
| 4 | Hard Felt Bob/Wheel | Medium Cut Compound Carrier: Paired with a cutting compound, it builds initial luster quickly. | Crucial: Use low to medium RPM and consistent, light pressure to prevent burning the metal or creating an "orange peel" texture. |
Detailing and Final Mirror Finish (Advanced Stage)
This stage transforms a high shine into a professional, razor-sharp mirror finish.
| No. | Dremel Bit | Core Function | Pro Technique & Notes |
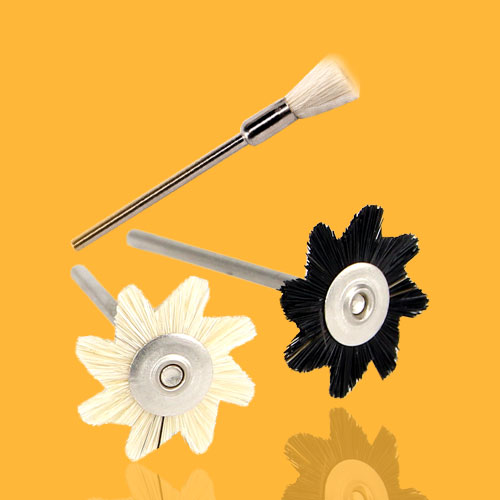
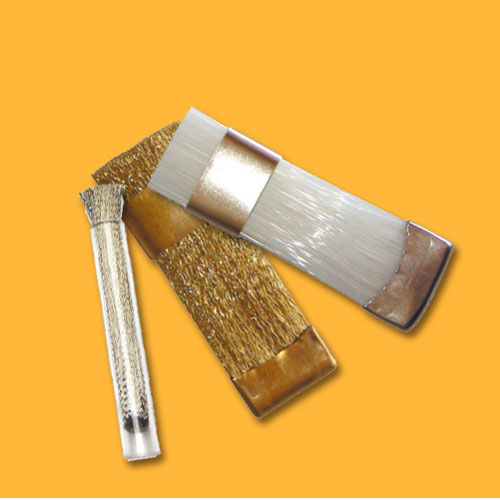
| 5 | Natural Bristle Brush (Goat/Horse Hair) | Detailing and Undercut Polishing: Applies compound to hard-to-reach areas like prong settings, engravings, and joints. | The Detailer: Essential for complex pieces. Ensures every nook and cranny shines as brightly as flat surfaces. Use with the same compound as your final soft buff. |
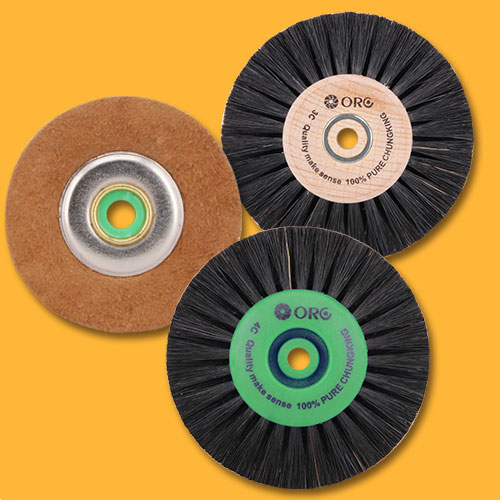
| 6 | Miniature Muslin Buff | Refining and Smoothing: Paired with a fine-shine compound, it removes minor drag marks from the felt bob. | Contamination Check: Keep this buff spotless to avoid reintroducing coarse particles. |
| 7 | Soft Cotton Buff | The Ultimate Mirror Finish: Used with Red Rouge compound for the final, high-luster burnish. | Minimal Pressure: Use the lowest RPM (Low Speed range) and a feather-light touch for this final step. The reflection should appear razor-sharp. |
Common Mistakes and How to Avoid Them
To achieve a professional Dremel mirror finish, steer clear of these pitfalls:- Polishing directly with an abrasive belt: The Jewelry Sanding Band is for shaping, not polishing. Using it late in the process leaves deep scratches that no buffing wheel can fix, ruining the mirror effect.
- Skipping steps or rushing the process: If scratches persist from the basic stage, the final polish will highlight them, creating a hazy, non-reflective surface. Complete each stage thoroughly.
- Mismatching compounds and bits: Pairing a high-cut compound with a soft cotton buff scratches the workpiece and damages the bit. Even worse, using a contaminated buff (one that retains coarse particles from an earlier step) will immediately ruin your mirror finish. Dedicated, labeled bits for each compound are non-negotiable.
Practical Tips for Mastering Dremel Polishing
Elevate your Dremel polishing with these expert strategies:Choosing the Right Polishing Compound
Follow the "Rough with Rough, Fine with Fine" rule. Pair harder bits (felt, fiber) with medium-cut compounds (e.g., Green Rouge or Tripoli) and softer bits (muslin, cotton) with ultra-fine finishing rouges (e.g., White Diamond or Red Rouge). Dedicate a labeled bit to each compound to prevent cross-contamination, which can introduce scratches. Never use a compound designed for hard materials (like stainless steel) on precious metals.Recommended Dremel Speeds
Proper speed control prevents thermal damage:- High Speed (15,000+ RPM): Use for shaping and initial scratch removal (Sanding Band).
- Medium Speed (10,000–15,000 RPM): Ideal for medium cutting and initial brightening (Felt and Fibre Buffs).
- Low Speed (5,000–10,000 RPM): Essential for final polishing (Muslin and Cotton Buffs) to minimize heat, friction, and swirling marks.
Cleaning and Maintaining Bits
Extend the life of your Dremel polishing accessories by cleaning them regularly. Use a stiff brush or cleaning stick to remove residual compound from felt and fiber wheels. Store bits in individual compartments or a clean, sealed container to prevent abrasive debris from contaminating your next project.Conclusion
These 7 essential Dremel bits are the backbone of a professional-grade polishing process. By following this sequence—from the Jewelry Sanding Band to the Cotton Buff—you’ll move beyond amateur results and achieve a flawless mirror finish that elevates your jewelry’s quality.Upgrade your Dremel kit today. Stop guessing and start polishing with precision. Visit the official Orobrush website to explore their professional line of Dremel bits and take your craft to the next level.